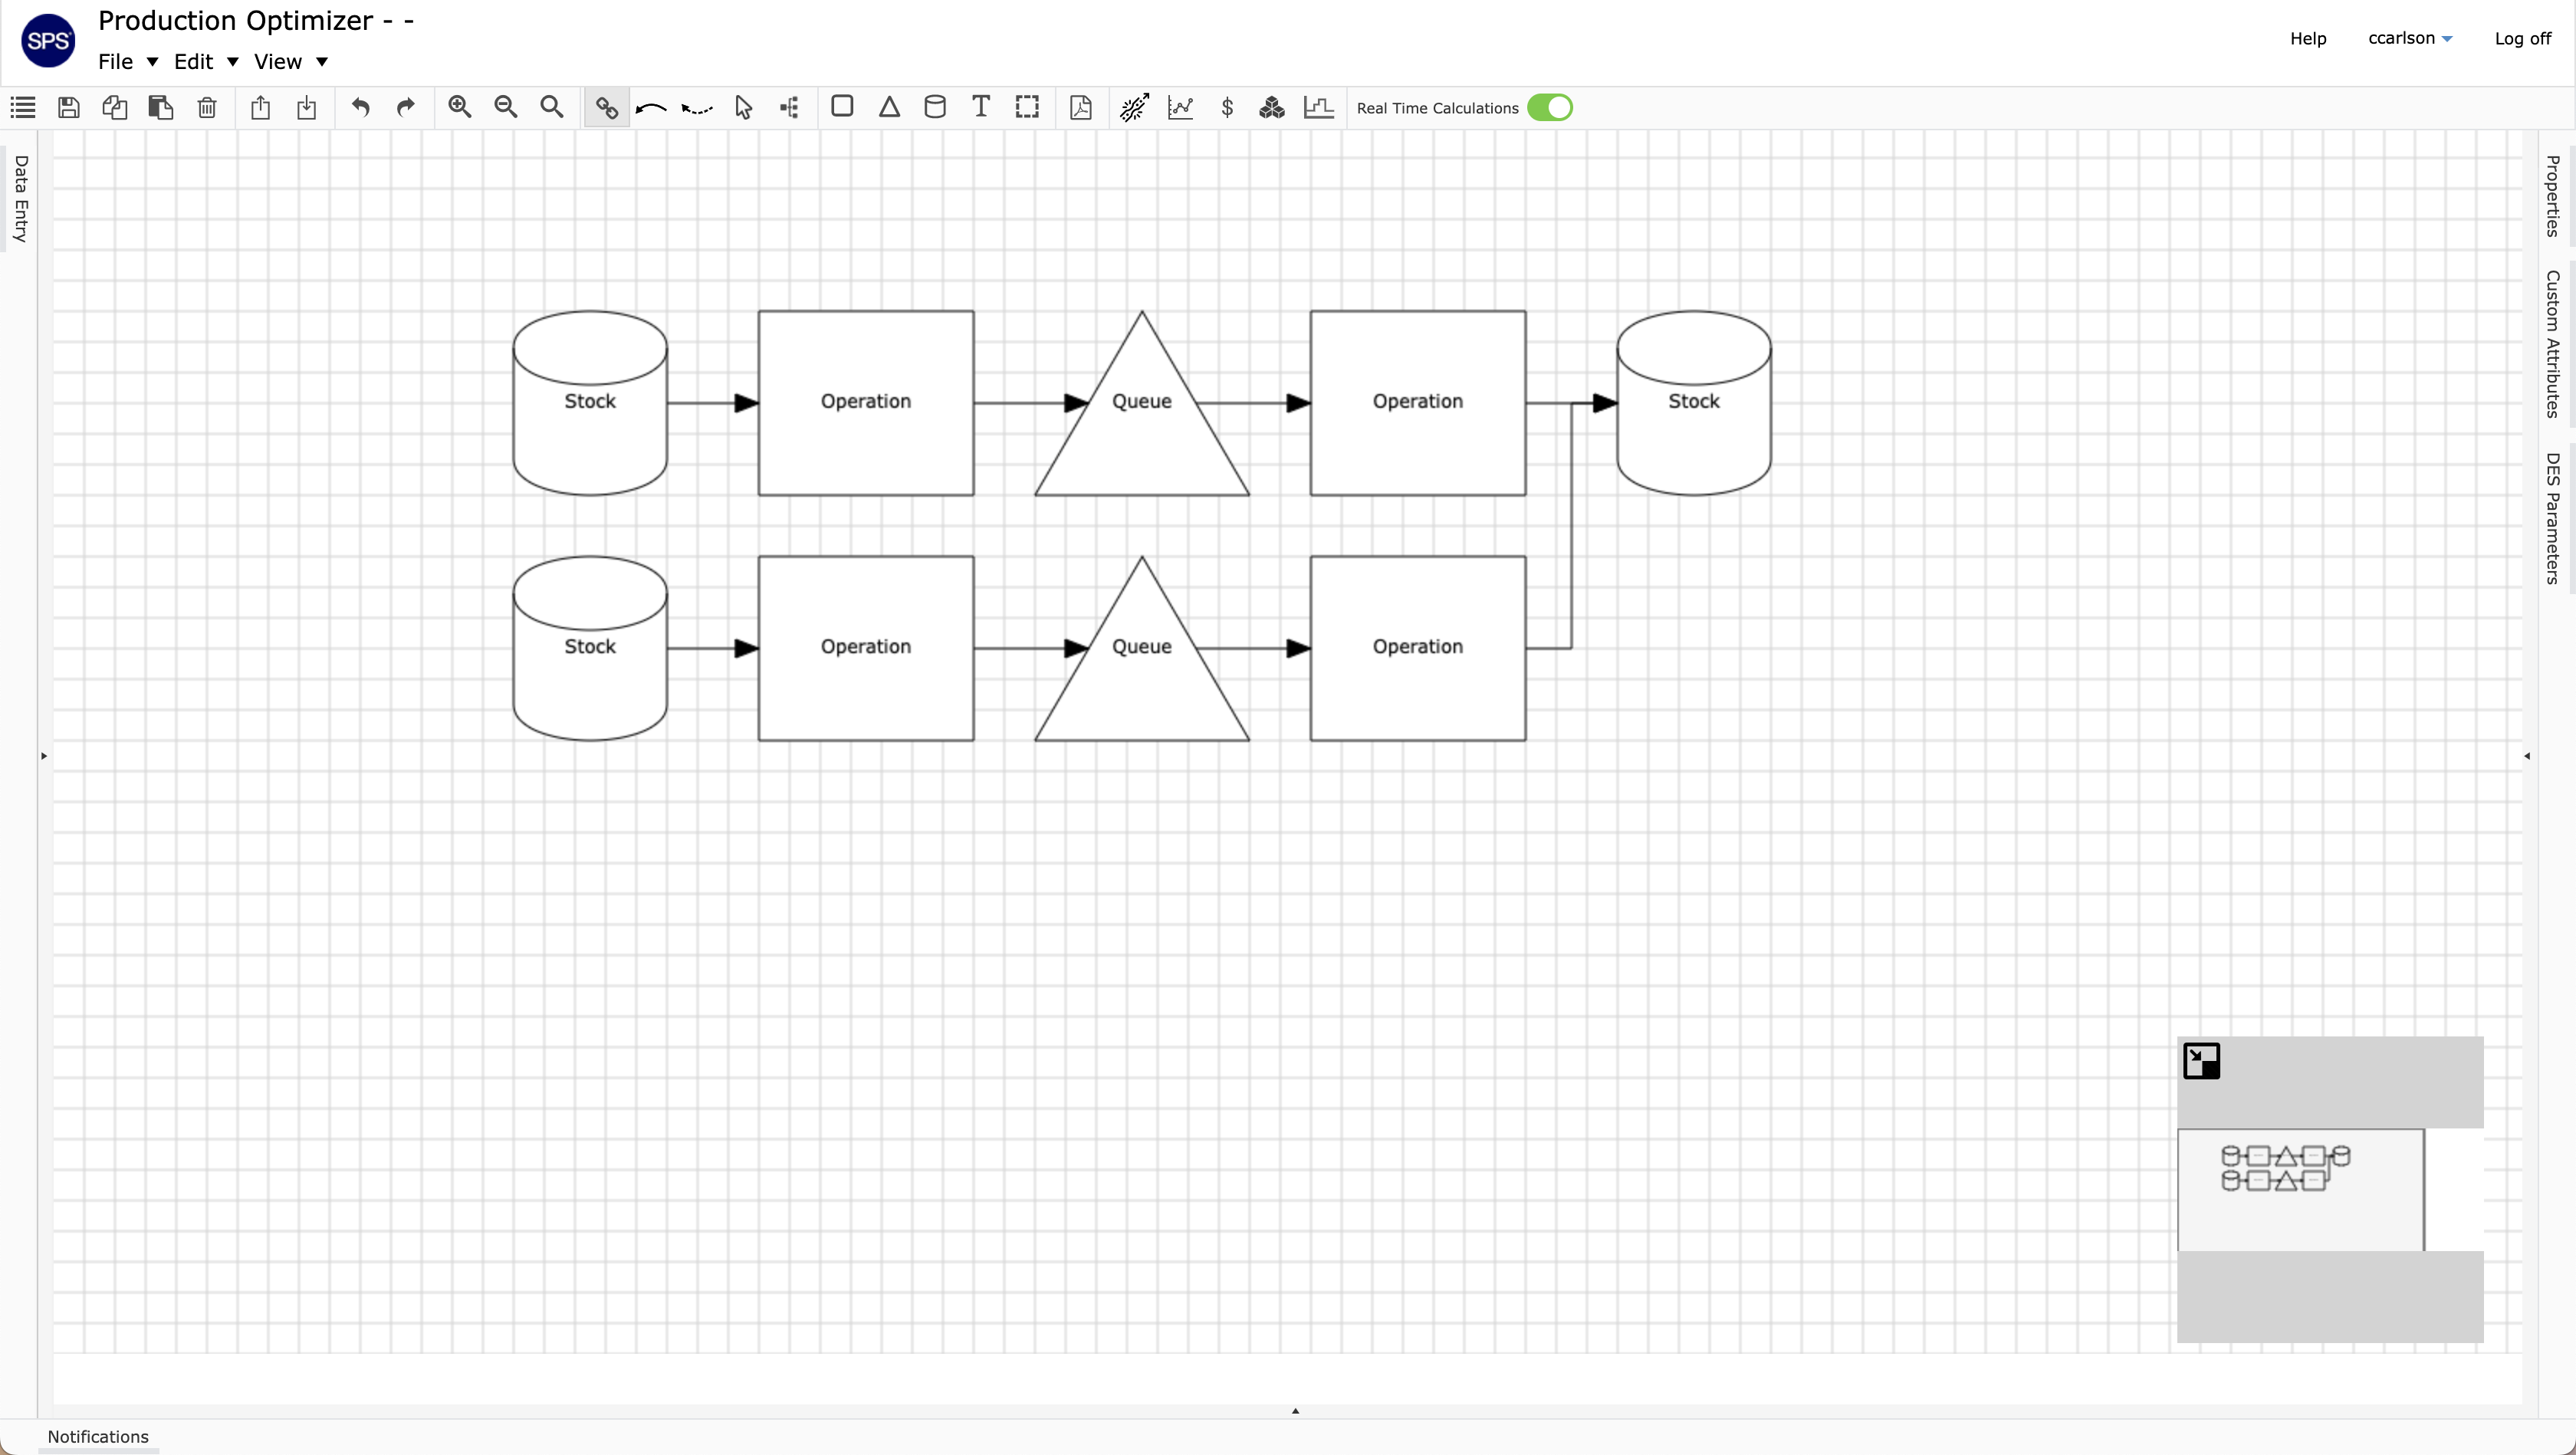
Upon opening a process, the user will encounter a blank interface as shown in the figure below. Across the top of the interface is a toolbar along with common File, Edit, and View commands.

On the left of the interface is a pane named Data Entry that can be opened by clicking on the name. The Data Entry pane contains most of the input menus where data for the process will be captured.
On the right of the interface are three panes named Properties, Custom Attributes, and DES Parameters. These panes contain the input fields for all Process Steps and Stocks.
Depending on the user’s access, some or all of the left and right panes may not be visible.
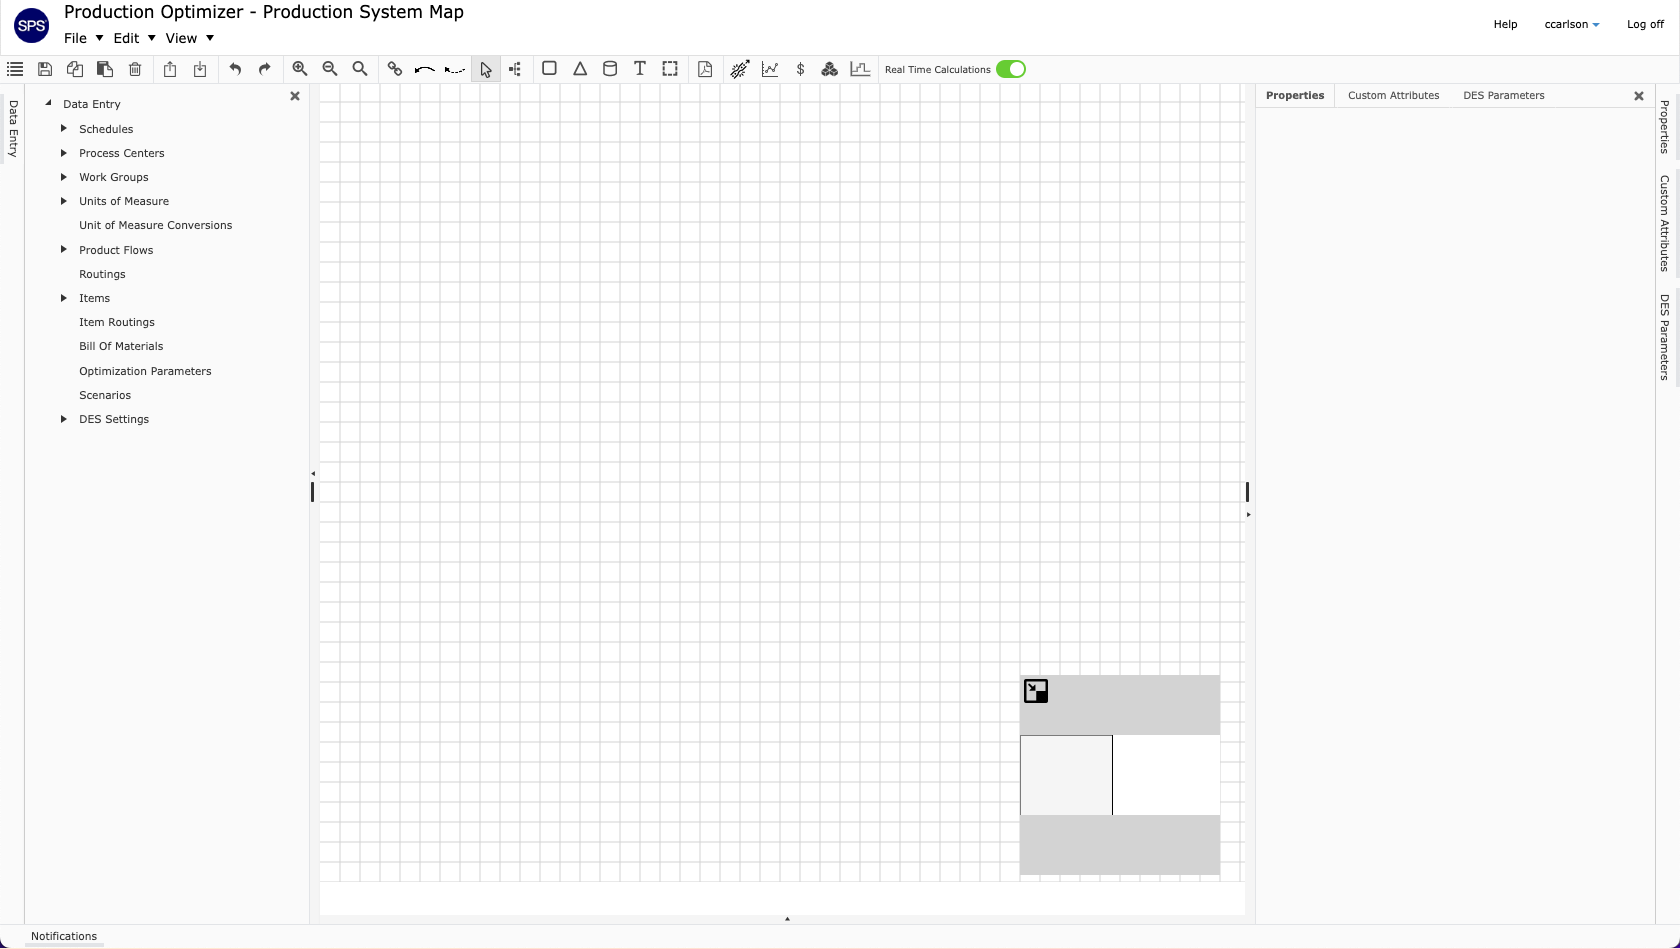
Toolbar Descriptions

Return to Main Menu: This button will bring the user back to the Process Library
Save: This button saves the current state of the process
Copy: This button will copy a selected portion of a process to the clipboard of the user’s computer
Paste: This button will paste a selected portion of a process that has been previously copied
Delete: This button will delete a selected portion of a process
Export: This button will open a menu requesting the user to select a file format to export the process
Import: This button will open a menu requesting the user to select a file from the user’s computer to import into the current interface
Undo: This button will undo the last command made by the user
Redo: This button will redo the last command that was undone
Zoom In: This button will zoom into the process
Zoom Out: This button will zoom out of the process
No Zoom: This button will zoom to a standard zoom level
Link: This button enables the user to link together multiple shapes. This link will drive the sequence and flow of routings.
Pull: This button enables the user to connect two shapes with an arrow that is curved. This arrow is strictly for illustration purposes and does not drive the connection of routings.
Modify: This button enables the user to select one or more shapes. This is done by clicking in the grid area and with the mouse click held, drag to create a rectangular field of selection. Release the mouse click once the desired selection area is covered. Now the user can move, copy, edit, or delete the selected region.
Arrange: This button rearranges the shapes that are currently drawn in the grid using a drawing algorithm. Note, that the user can select Undo to return to the previous arrangement.
Operation: This button enables the user to create an Operation in the grid. Select this button and double click within the grid area. To edit the text within an Operation, double click it to open a text editor. Change the text as needed and select the grid area to complete. Alternatively, the user can select an Operation and open the Properties pane to edit the text within the Description field.
Queue: This button enables the user to create a Queue in the grid. Select this button and double click within the grid area. To edit the text within a Queue, double click it to open a text editor. Change the text as needed and select the grid area to complete. Alternatively, the user can select a Queue and open the Properties pane to edit the text within the Description field.
Stock: This button enables the user to create a Stock in the grid. Select this button and double click within the grid area. To edit the text within a Stock, double click it to open a text editor. Change the text as needed and select the grid area to complete. Alternatively, the user can select a Stock and open the Properties pane to edit the text within the Description field.
Text Box: This button enables the user to create a Text Box in the grid. Select this button and double click within the grid area. To edit the text within the Text Box, double click it to open a text editor. Change the text as needed and select the grid area to complete. Alternatively, the user can select the Text Box and open the Properties pane to edit the text within the Description field.
Frame: This button enables the user to create a Frame in the grid. Select this button and double click within the grid area. To edit the text within a Frame select a Frame and open the Properties pane to edit the text within the Description field. Note that the user cannot edit the text within a Frame by double clicking it.
Export to PDF: This button enables the user to export the current process map to PDF format.
Analyze Bottlenecks: This button performs a quick analysis to determine where the bottlenecks are located. Keep in mind that this analysis requires that the user has provided flow data.
Production System Analysis: This button initiates the Capacity Analysis, Cycle Time Analysis, Flow Optimization, and Cash Flow Optimization. See Data, Models, and Results section for more detail.
Value Modeler: This button initiates the Value Modeler Optimization. See Data, Models, and Results section for more detail.
Inventory Optimization: This button initiates the Inventory Optimization for the production system. See Data, Models, and Results section for more detail.
Discrete Event Simulation: This button initiates a Discrete Event Simulation for the production system. See Data, Models, and Results section for more detail.
Toggle Real Time Calculations: This toggle switch turns Real Time Calculations ON or OFF. When ON, the Production Optimizer will automatically build routings as the map is generated and will look to ensure data structure relationships are maintained. When these data structure relationships are not maintained, the user will get a notification for missing information in the bottom pane titled Notifications.
File Commands
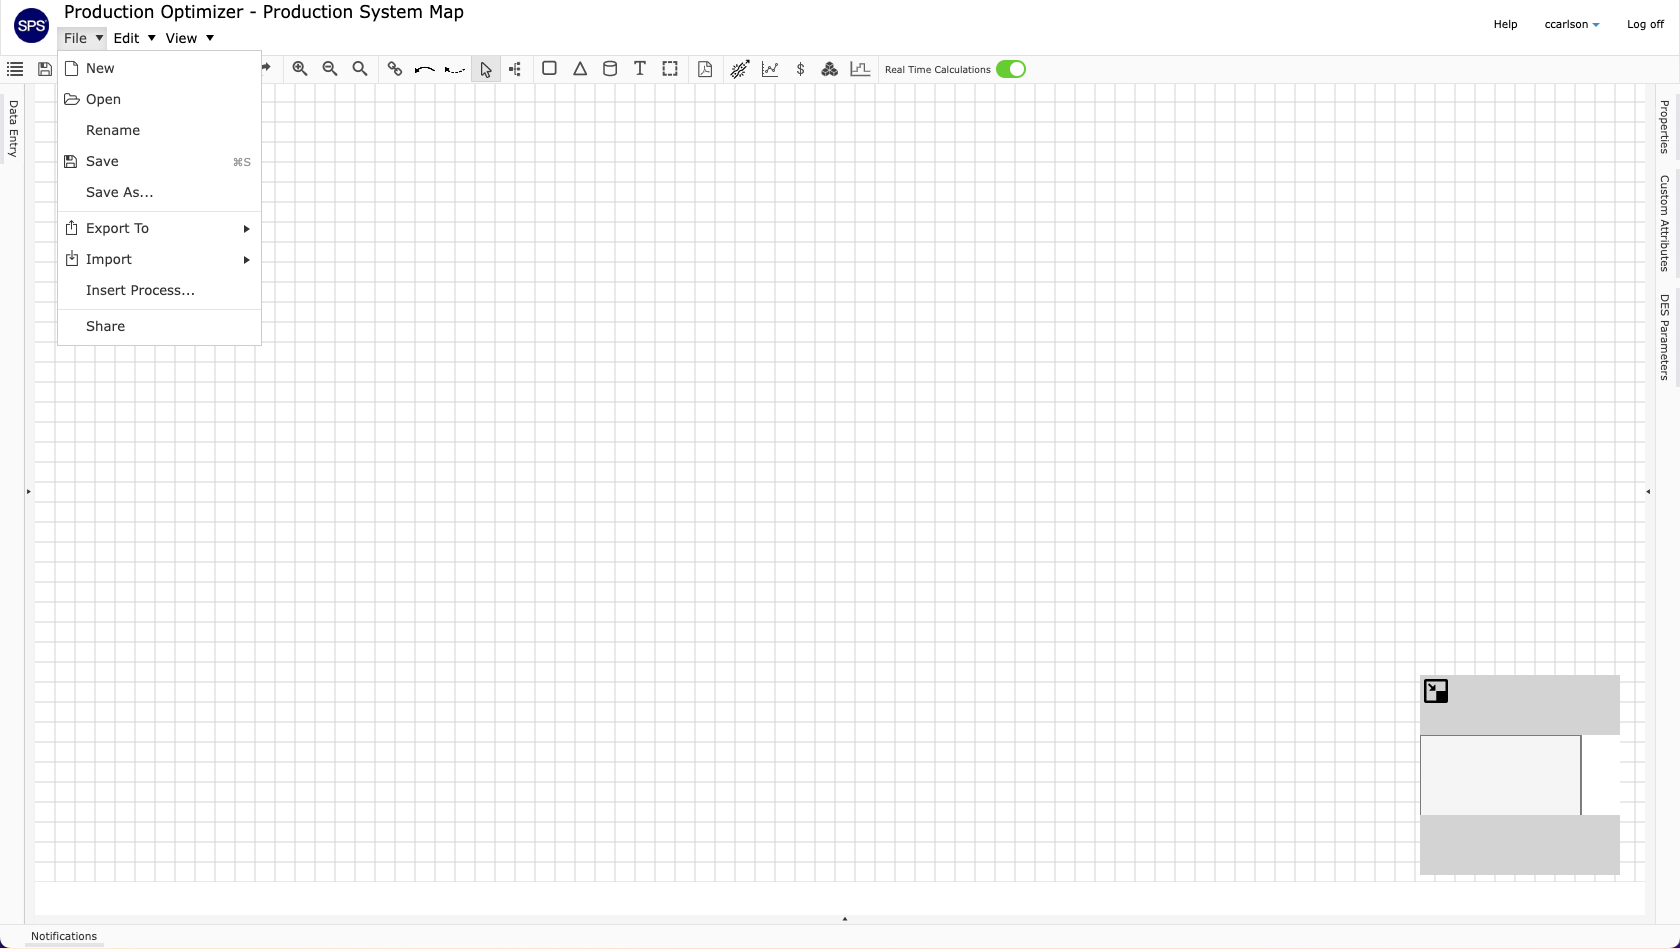
New: This button creates a new process.
Open: This button enables the user to open a process from a list of processes that the user has saved in their library.
Rename: This button enables the user to rename the process that is currently opened.
Save: This button saves the process that is currently opened.
Save As: This button enables the user to save the process in its current state to another name. The file will automatically be saved in the root location of their process library. The newly saved process will open in new window and the original process will be return to the state of the last save.
Export To: This button enables the user to export the process to their computer’s memory.
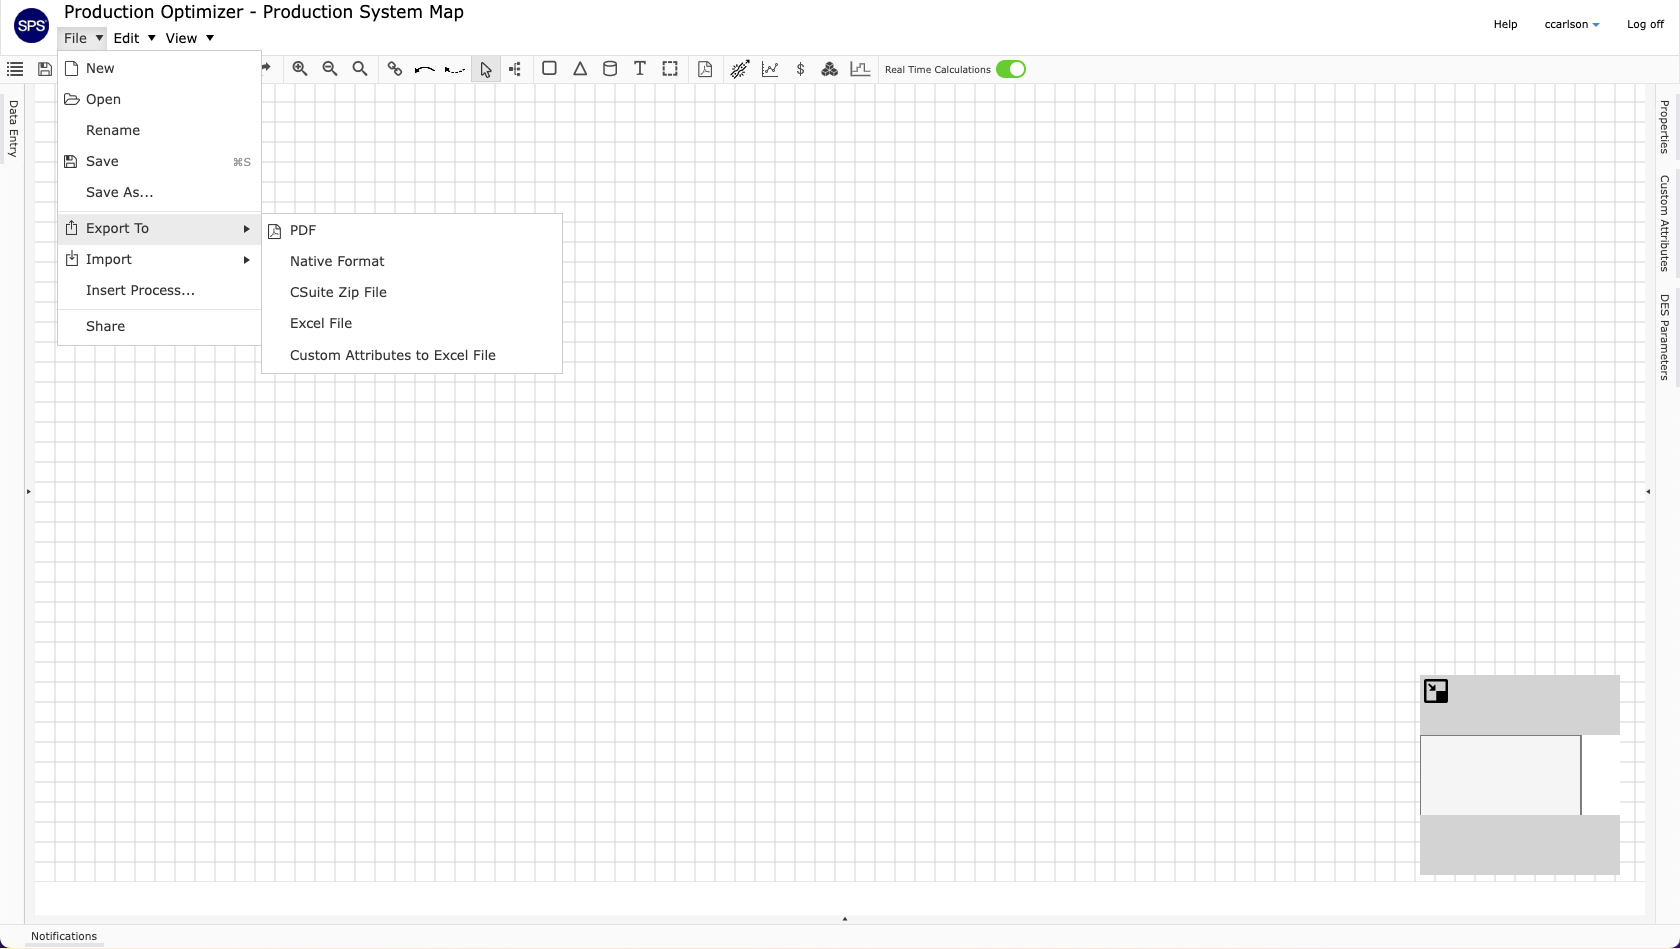
Import: This button enables the user to import a process from their computer’s memory, into the Production Optimizer. When importing a process, the system will ask the user to create a new process or replace the current process. By selecting to create a new process, a new window will open where the process being imported will be saved. By selecting to replace the current process, the current process and all of its data will be overwritten by the data in the process being imported.
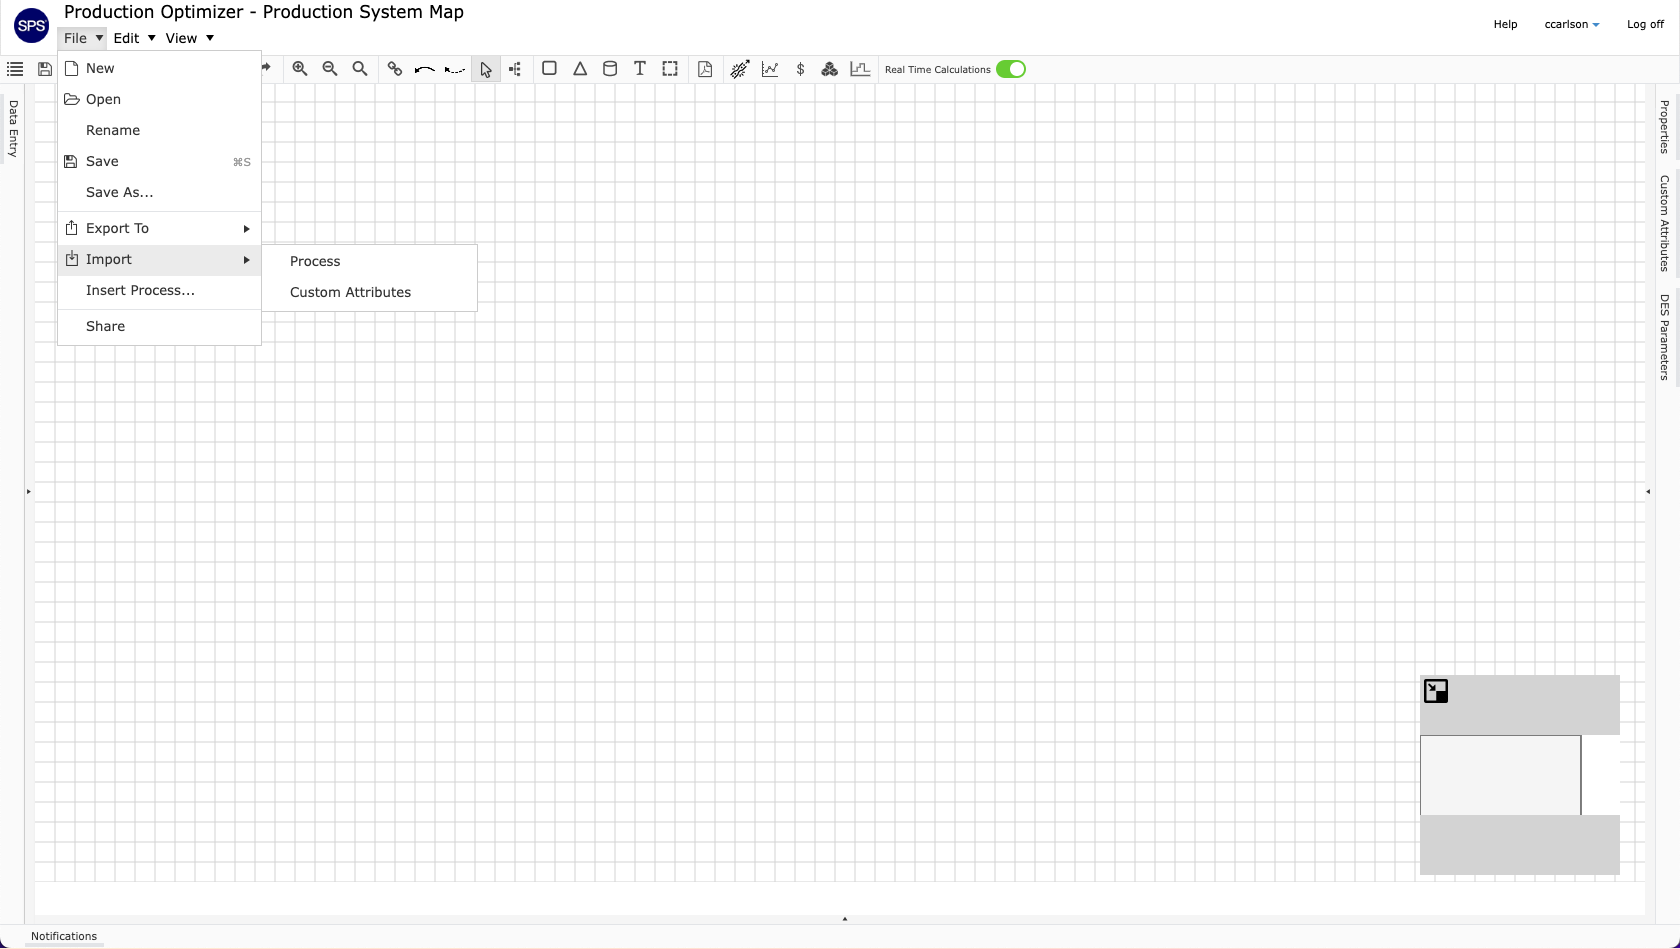

Insert Process: This button will enable the user to insert a process within their process library into the current process.
Share: This button enables the user to share the current process with another user.
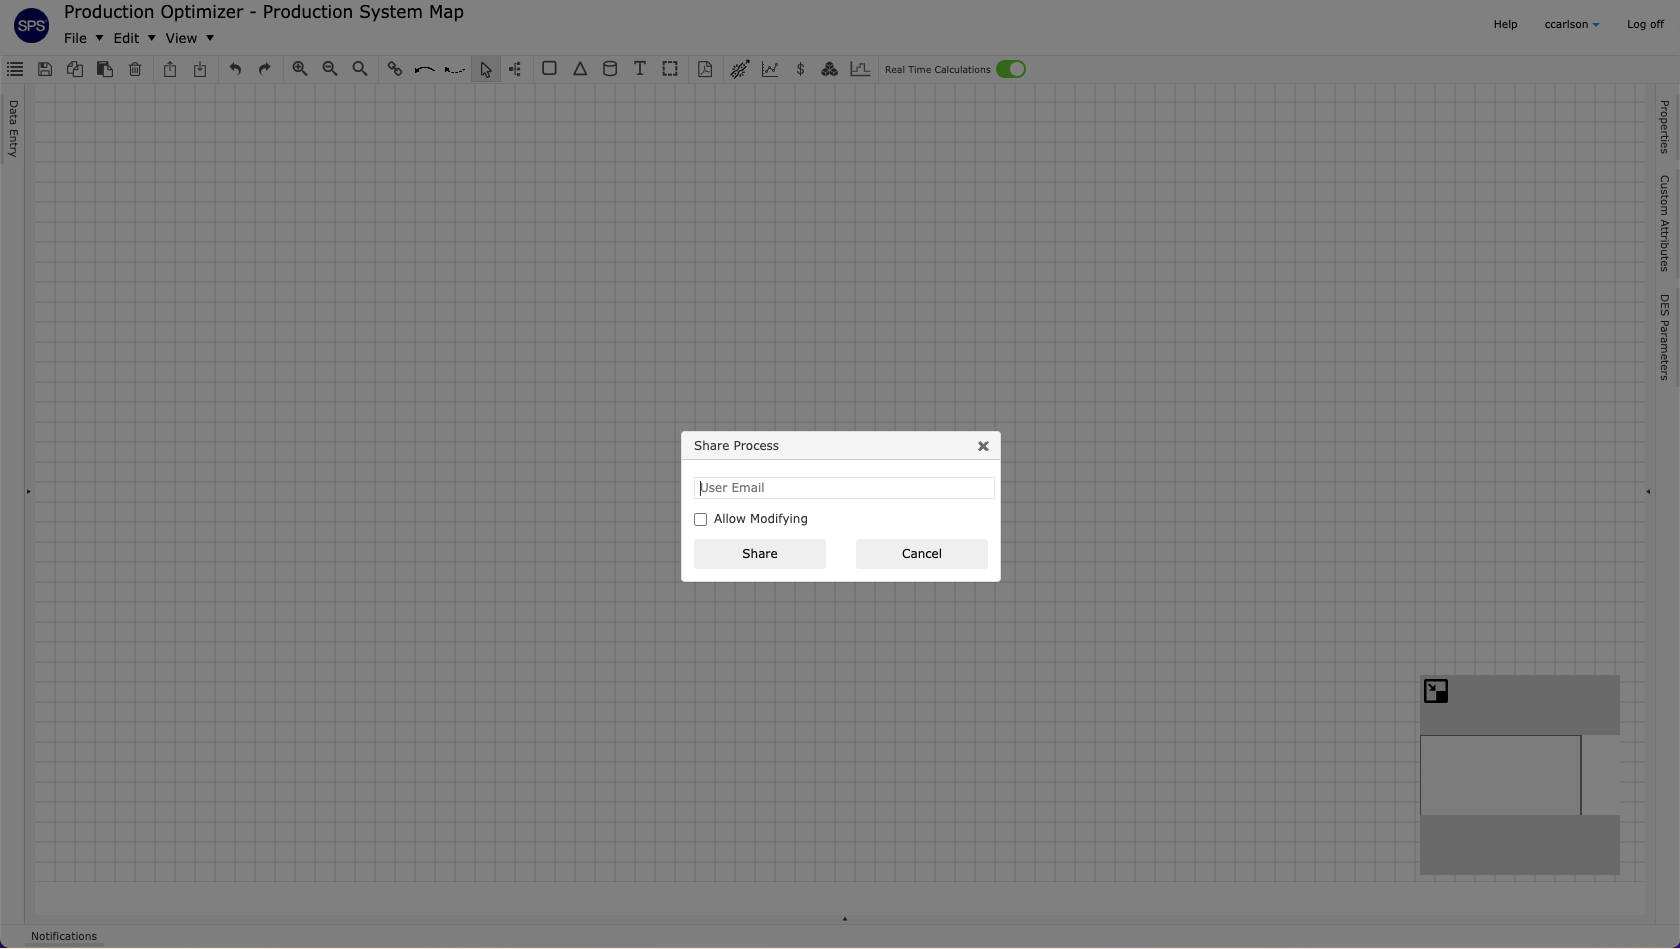
To share with another user, enter the email address of that user in the User Email input field. Then select whether or not that user is allowed to make changes to this shared process. If selected, the user can make changes and overwrite the process as it currently is saved. If left unselected, the user will not be able to make changes to the shared process. If they do wish to make changes, that user will be required to duplicate and save a version of their own.
Once modification rights have been decided, select Share to share with the user.
Edit Commands

Undo: This button will undo the last command made by the user
Redo: This button will redo the last command that was undone
Select All: This button will trigger a selection of all shapes drawn in the current process. The user can then batch edit the process as desired.
Copy: This button will copy a selected portion of a process to the clipboard of the user’s computer
Paste: This button will paste a selected portion of a process that has been previously copied
Delete: This button will delete a selected portion of a process
View Commands

Zoom In: This button will zoom into the process
Zoom Out: This button will zoom out of the process
No Zoom: This button will zoom to a standard zoom level
View Styles
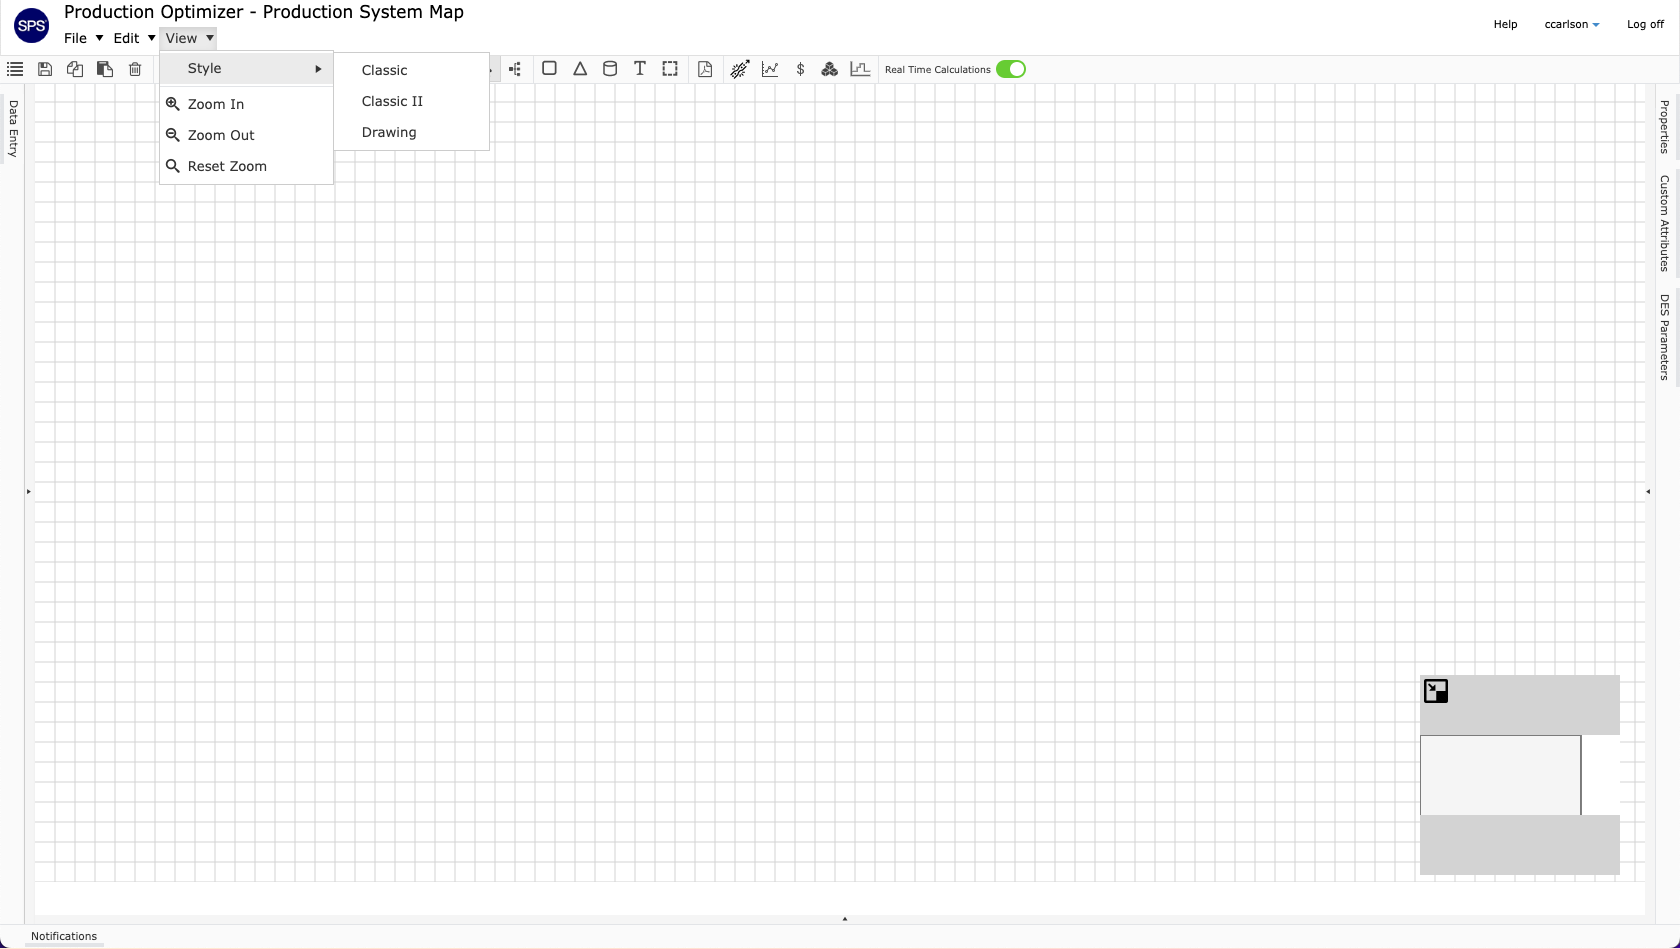
The user can select from three different viewing styles:
- Classic
- Classic II
- Drawing
By default, Classic viewing will be enabled. With this view, Operations will be colored in blue with white text and Stocks and Queues will be in colored green with white text. Borders of all shapes will be colored in white. Connections between process shapes will be straight arrows.
By selecting Classic II, the arrows between process shapes will be automatically segmented depending on the distance and offset between two shapes. The colors scheme in Classic view will be maintained.
By selecting Drawing, the arrows between process shapes will be automatically segmented depending on the distance and offset between two shapes. The colors from all shapes will be replaced with a white fill and the white borders and white text will be replaced with black borders and black text.
Classic View

Classic II View

Drawing View
