Create a Production Process
To create a new process, first login into the Production Optimizer. You will be directed to your library of processes which should look similar to the figure below.
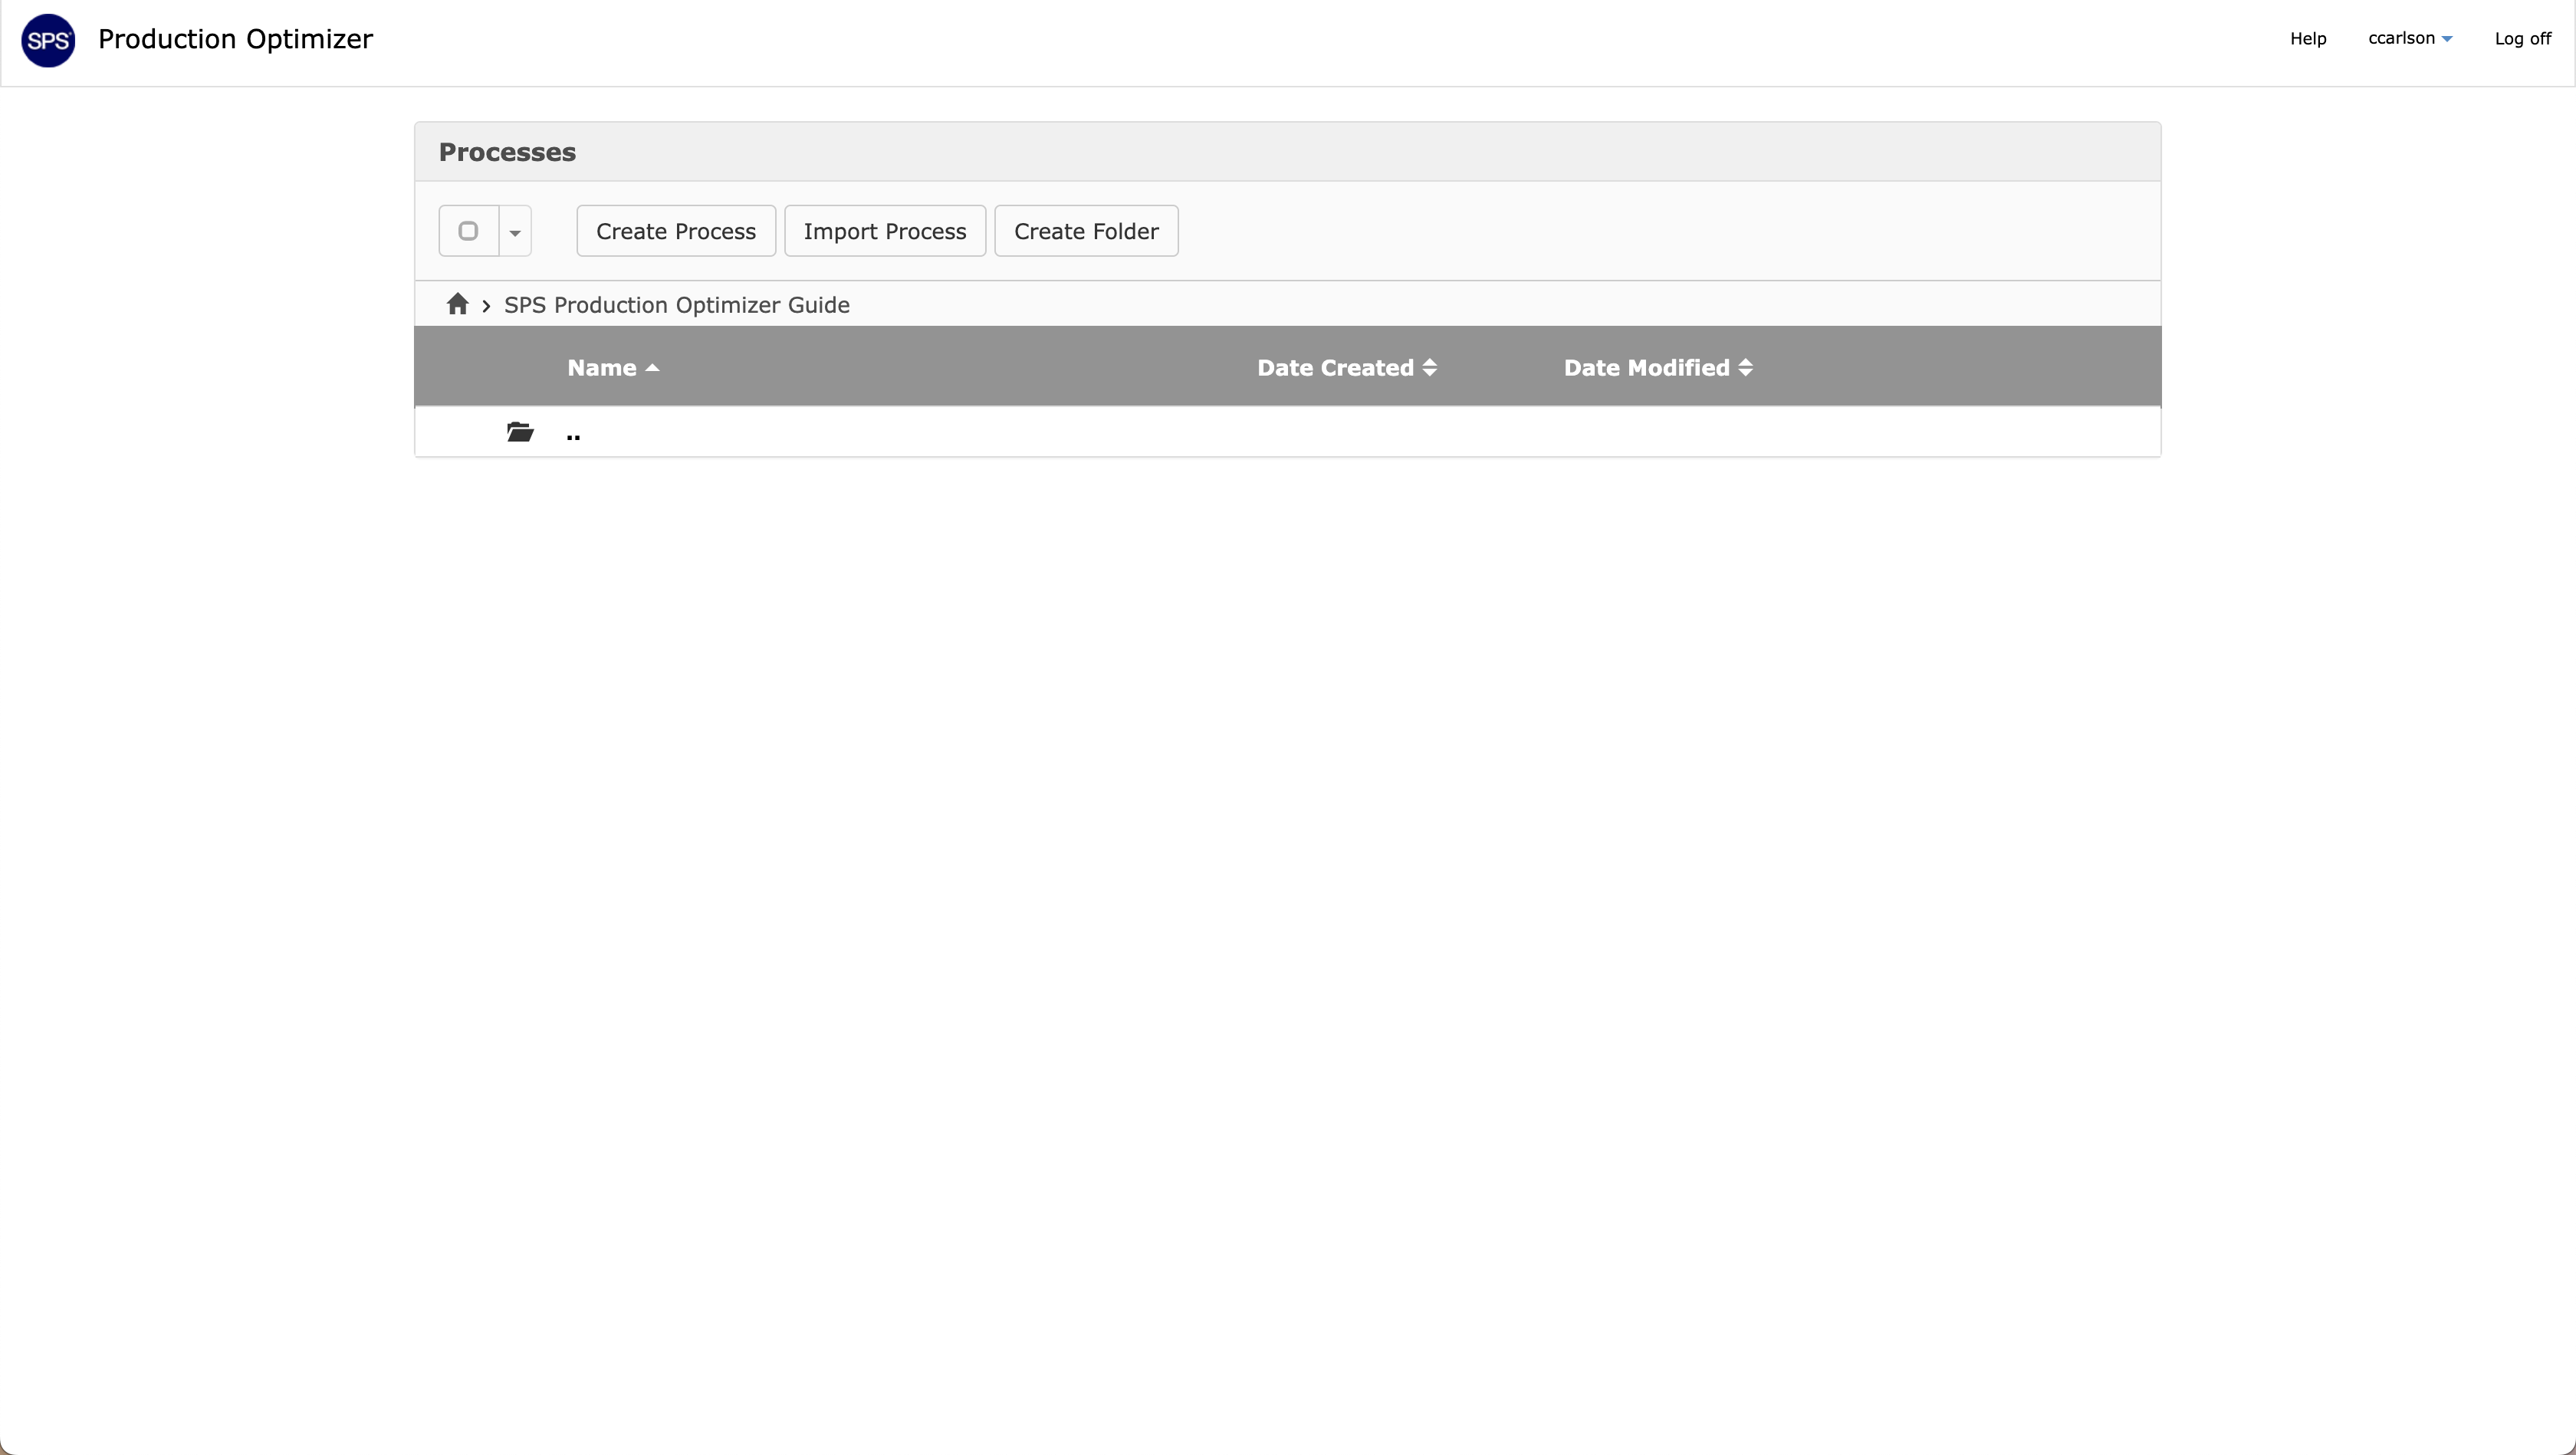
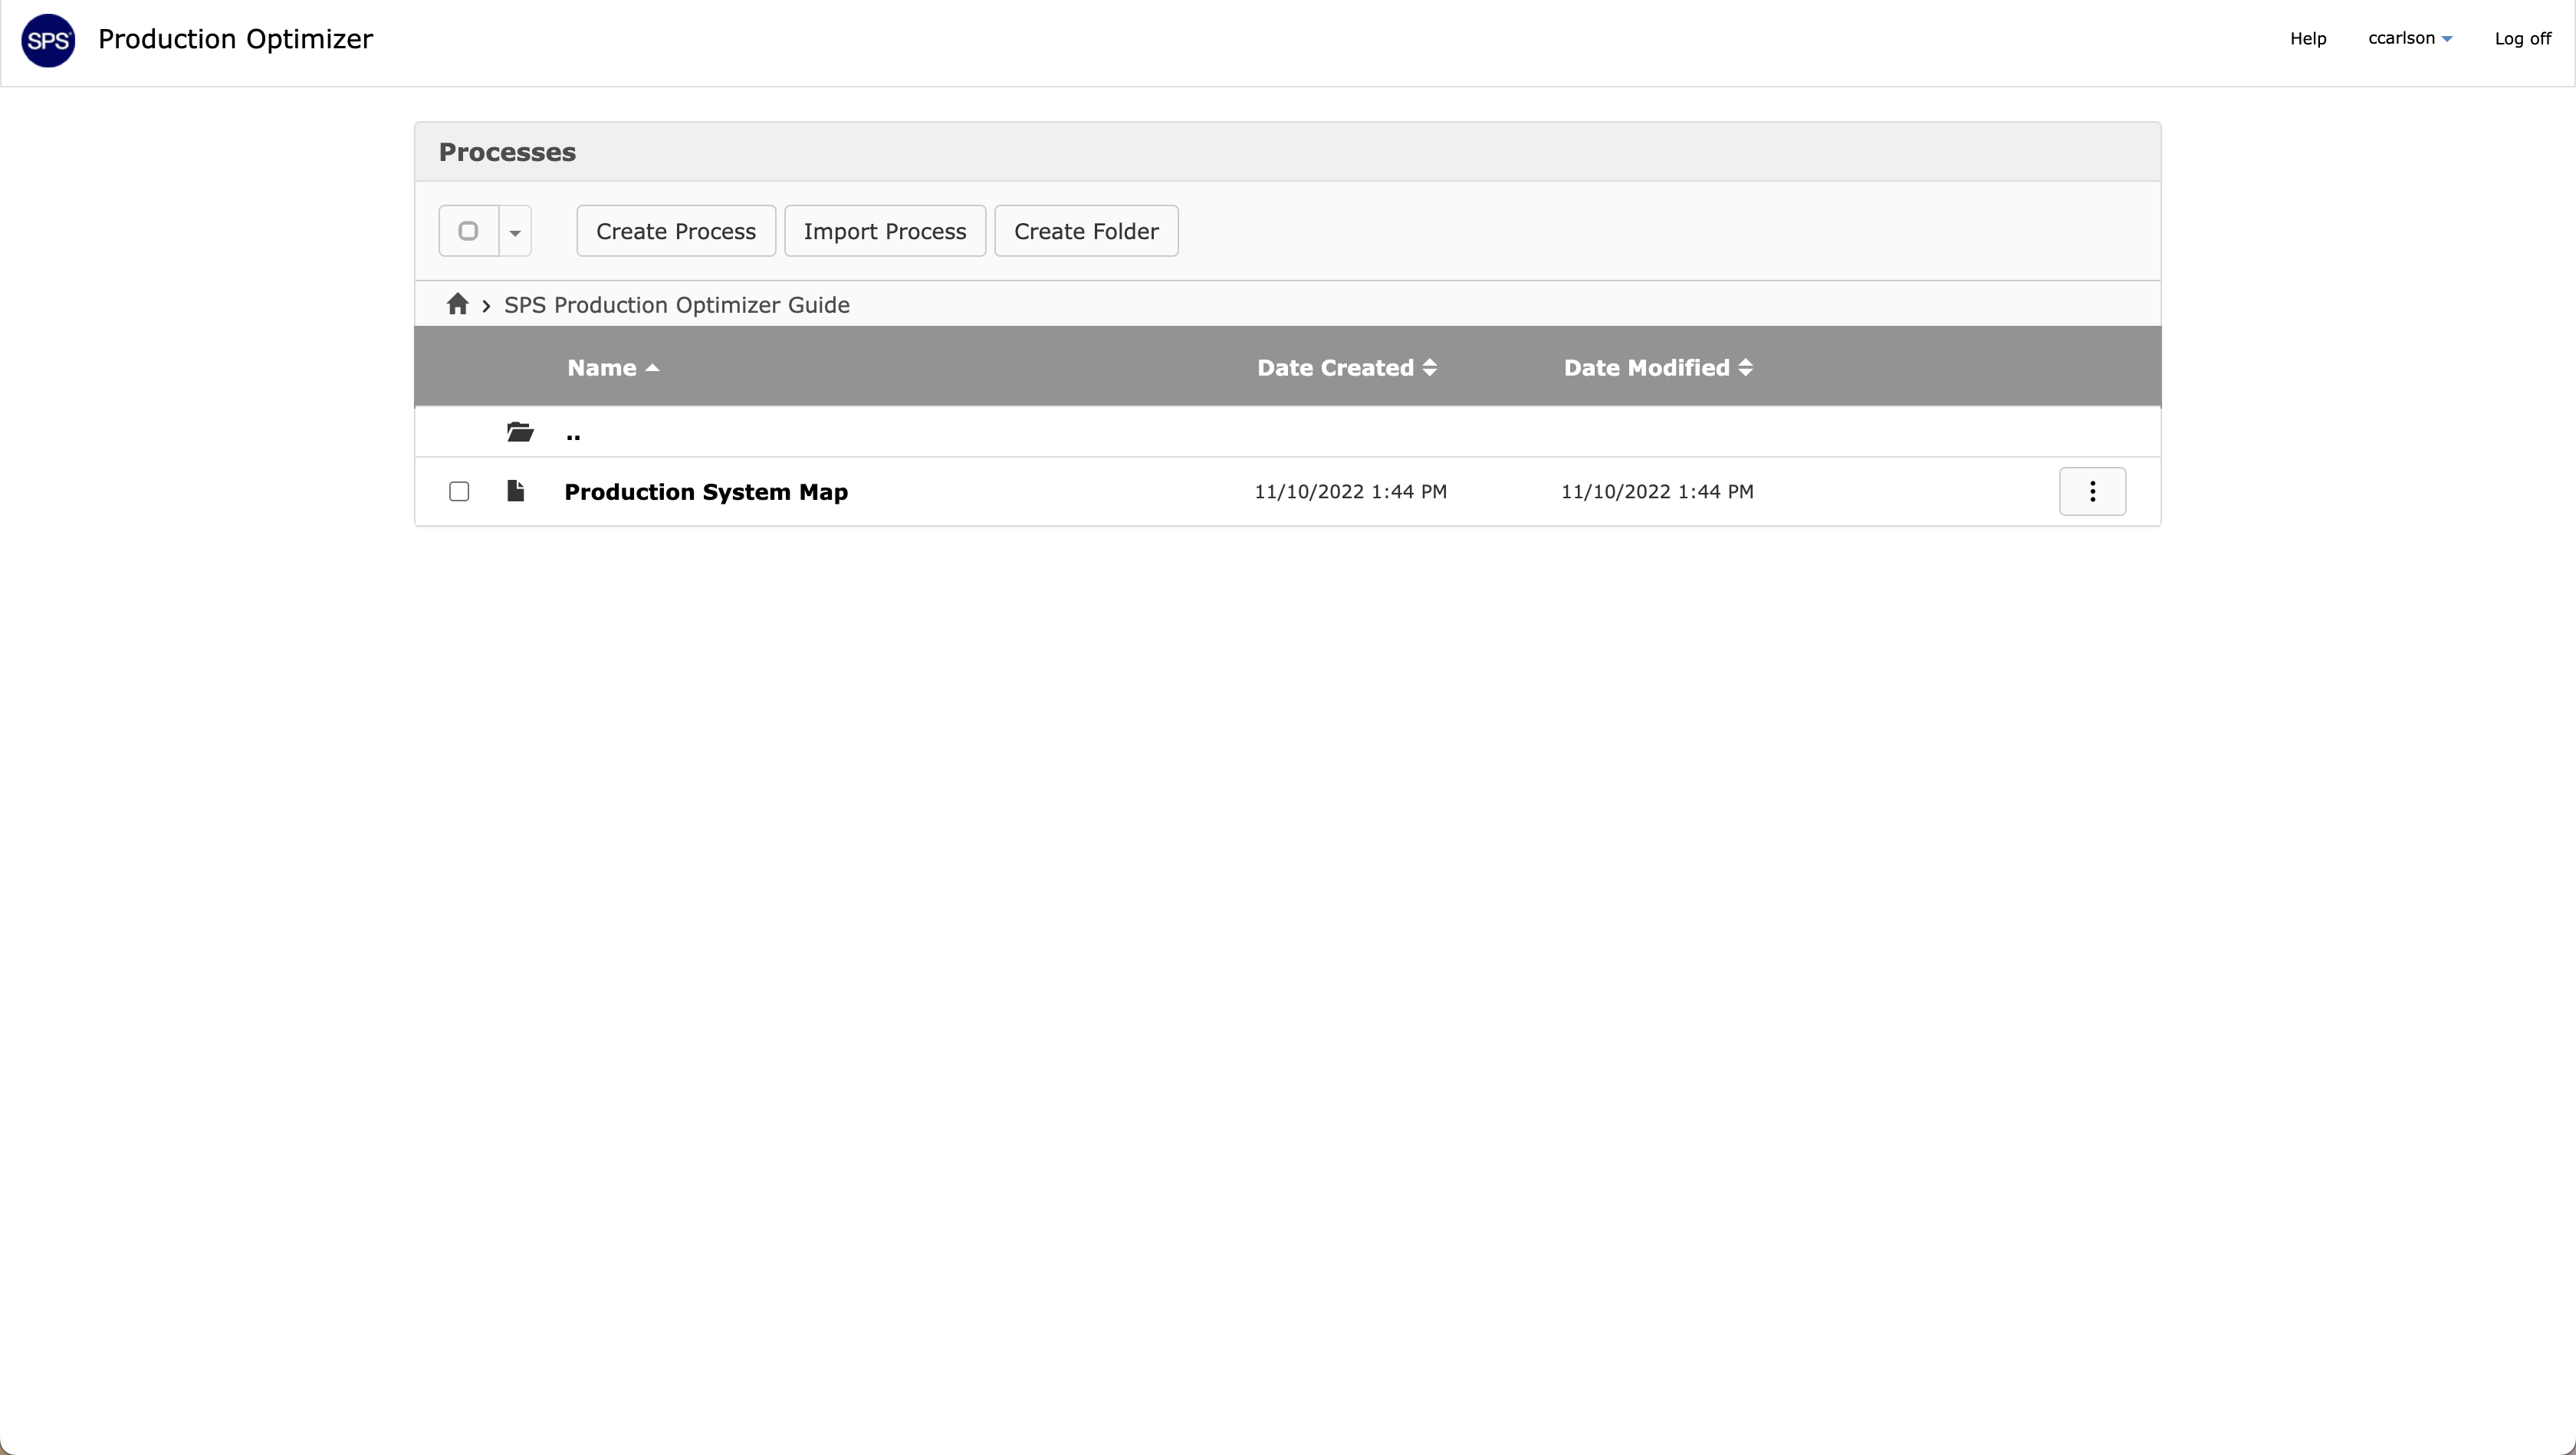
From this menu, a new process can be created by selecting the Create Process button. After selecting this button, the system will ask that the process be named. Provide a name for the process and select the check mark button to save. For illustration, a process named “Production System Map” has been created and saved below.
Import a Production Process
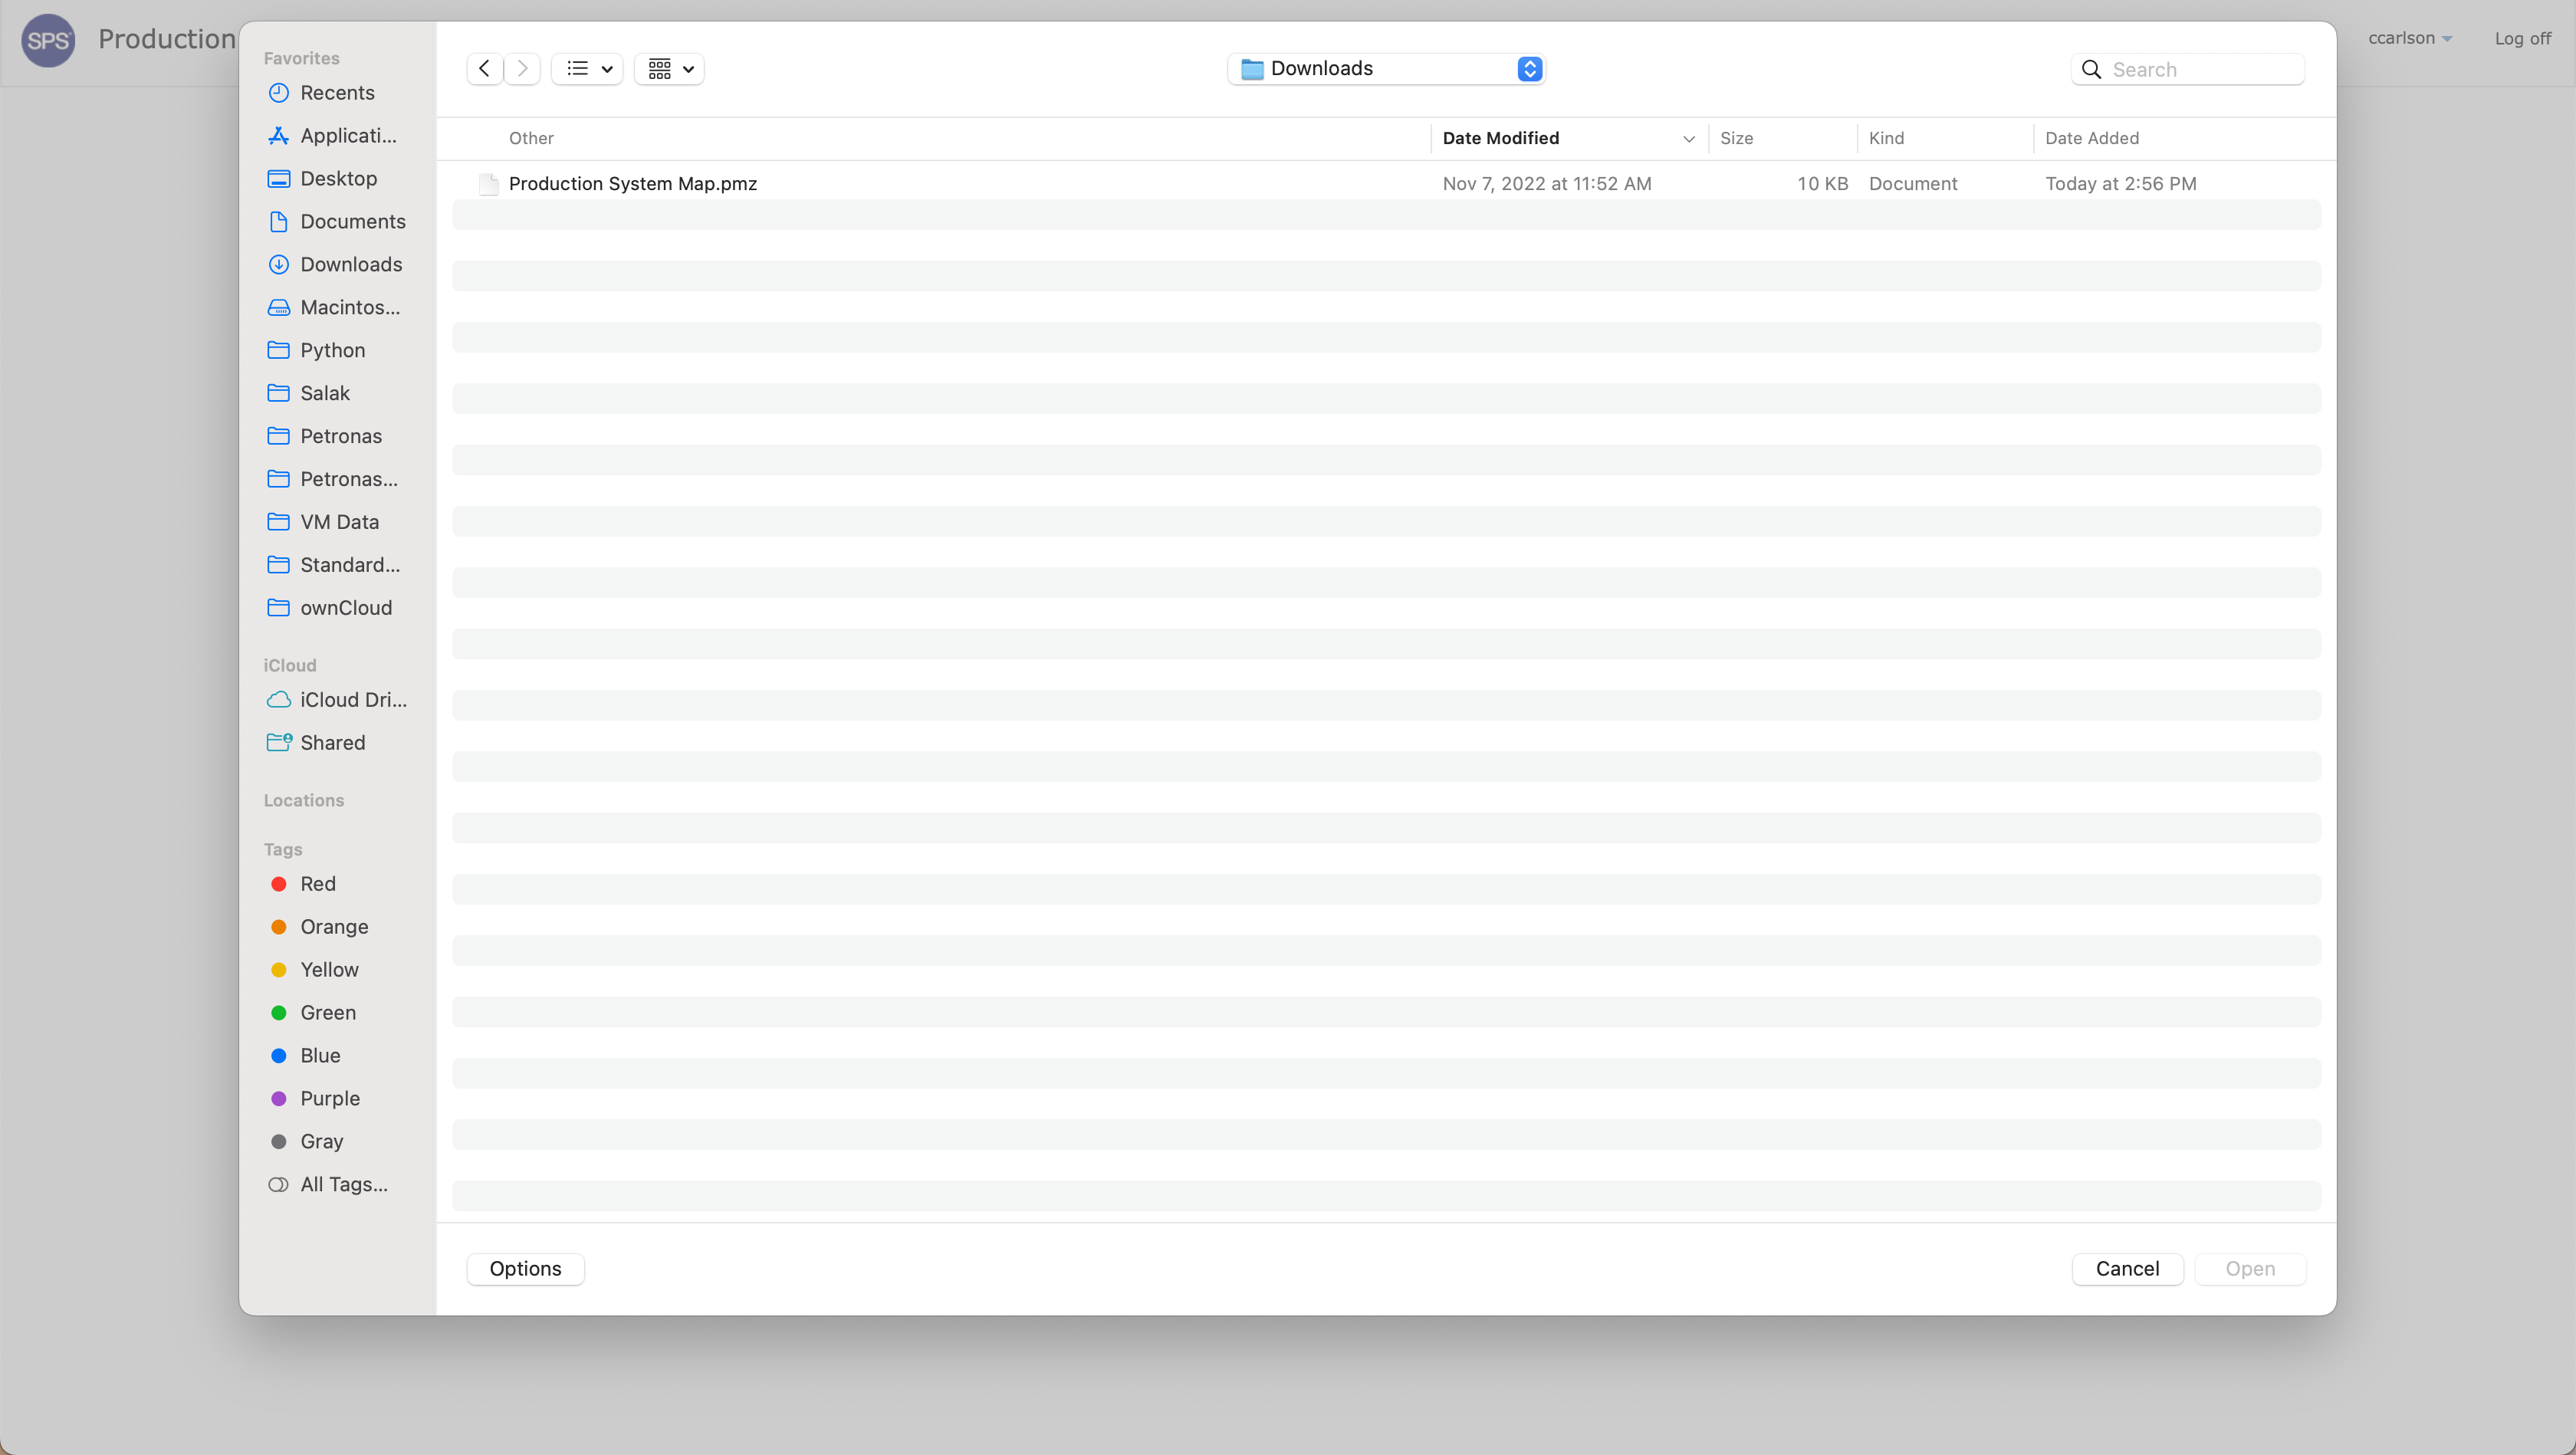
The user has the option to import a process that has been saved in their computer’s library. To do so, select the Import Process button. The user will be directed to select the process file from the appropriate folder on their computer. Several types of files can be imported at this point, including .pmz, the native file format, .zip, and .xlsx. Select the file and open to import the process.
Edit a Process from the Process Library
Now that the process has been created, the user has the options to open the process or make changes to the process. By selecting the button to the right of the process name, the user has the option to Rename, Duplicate, Export, Share, Move and Delete the process.
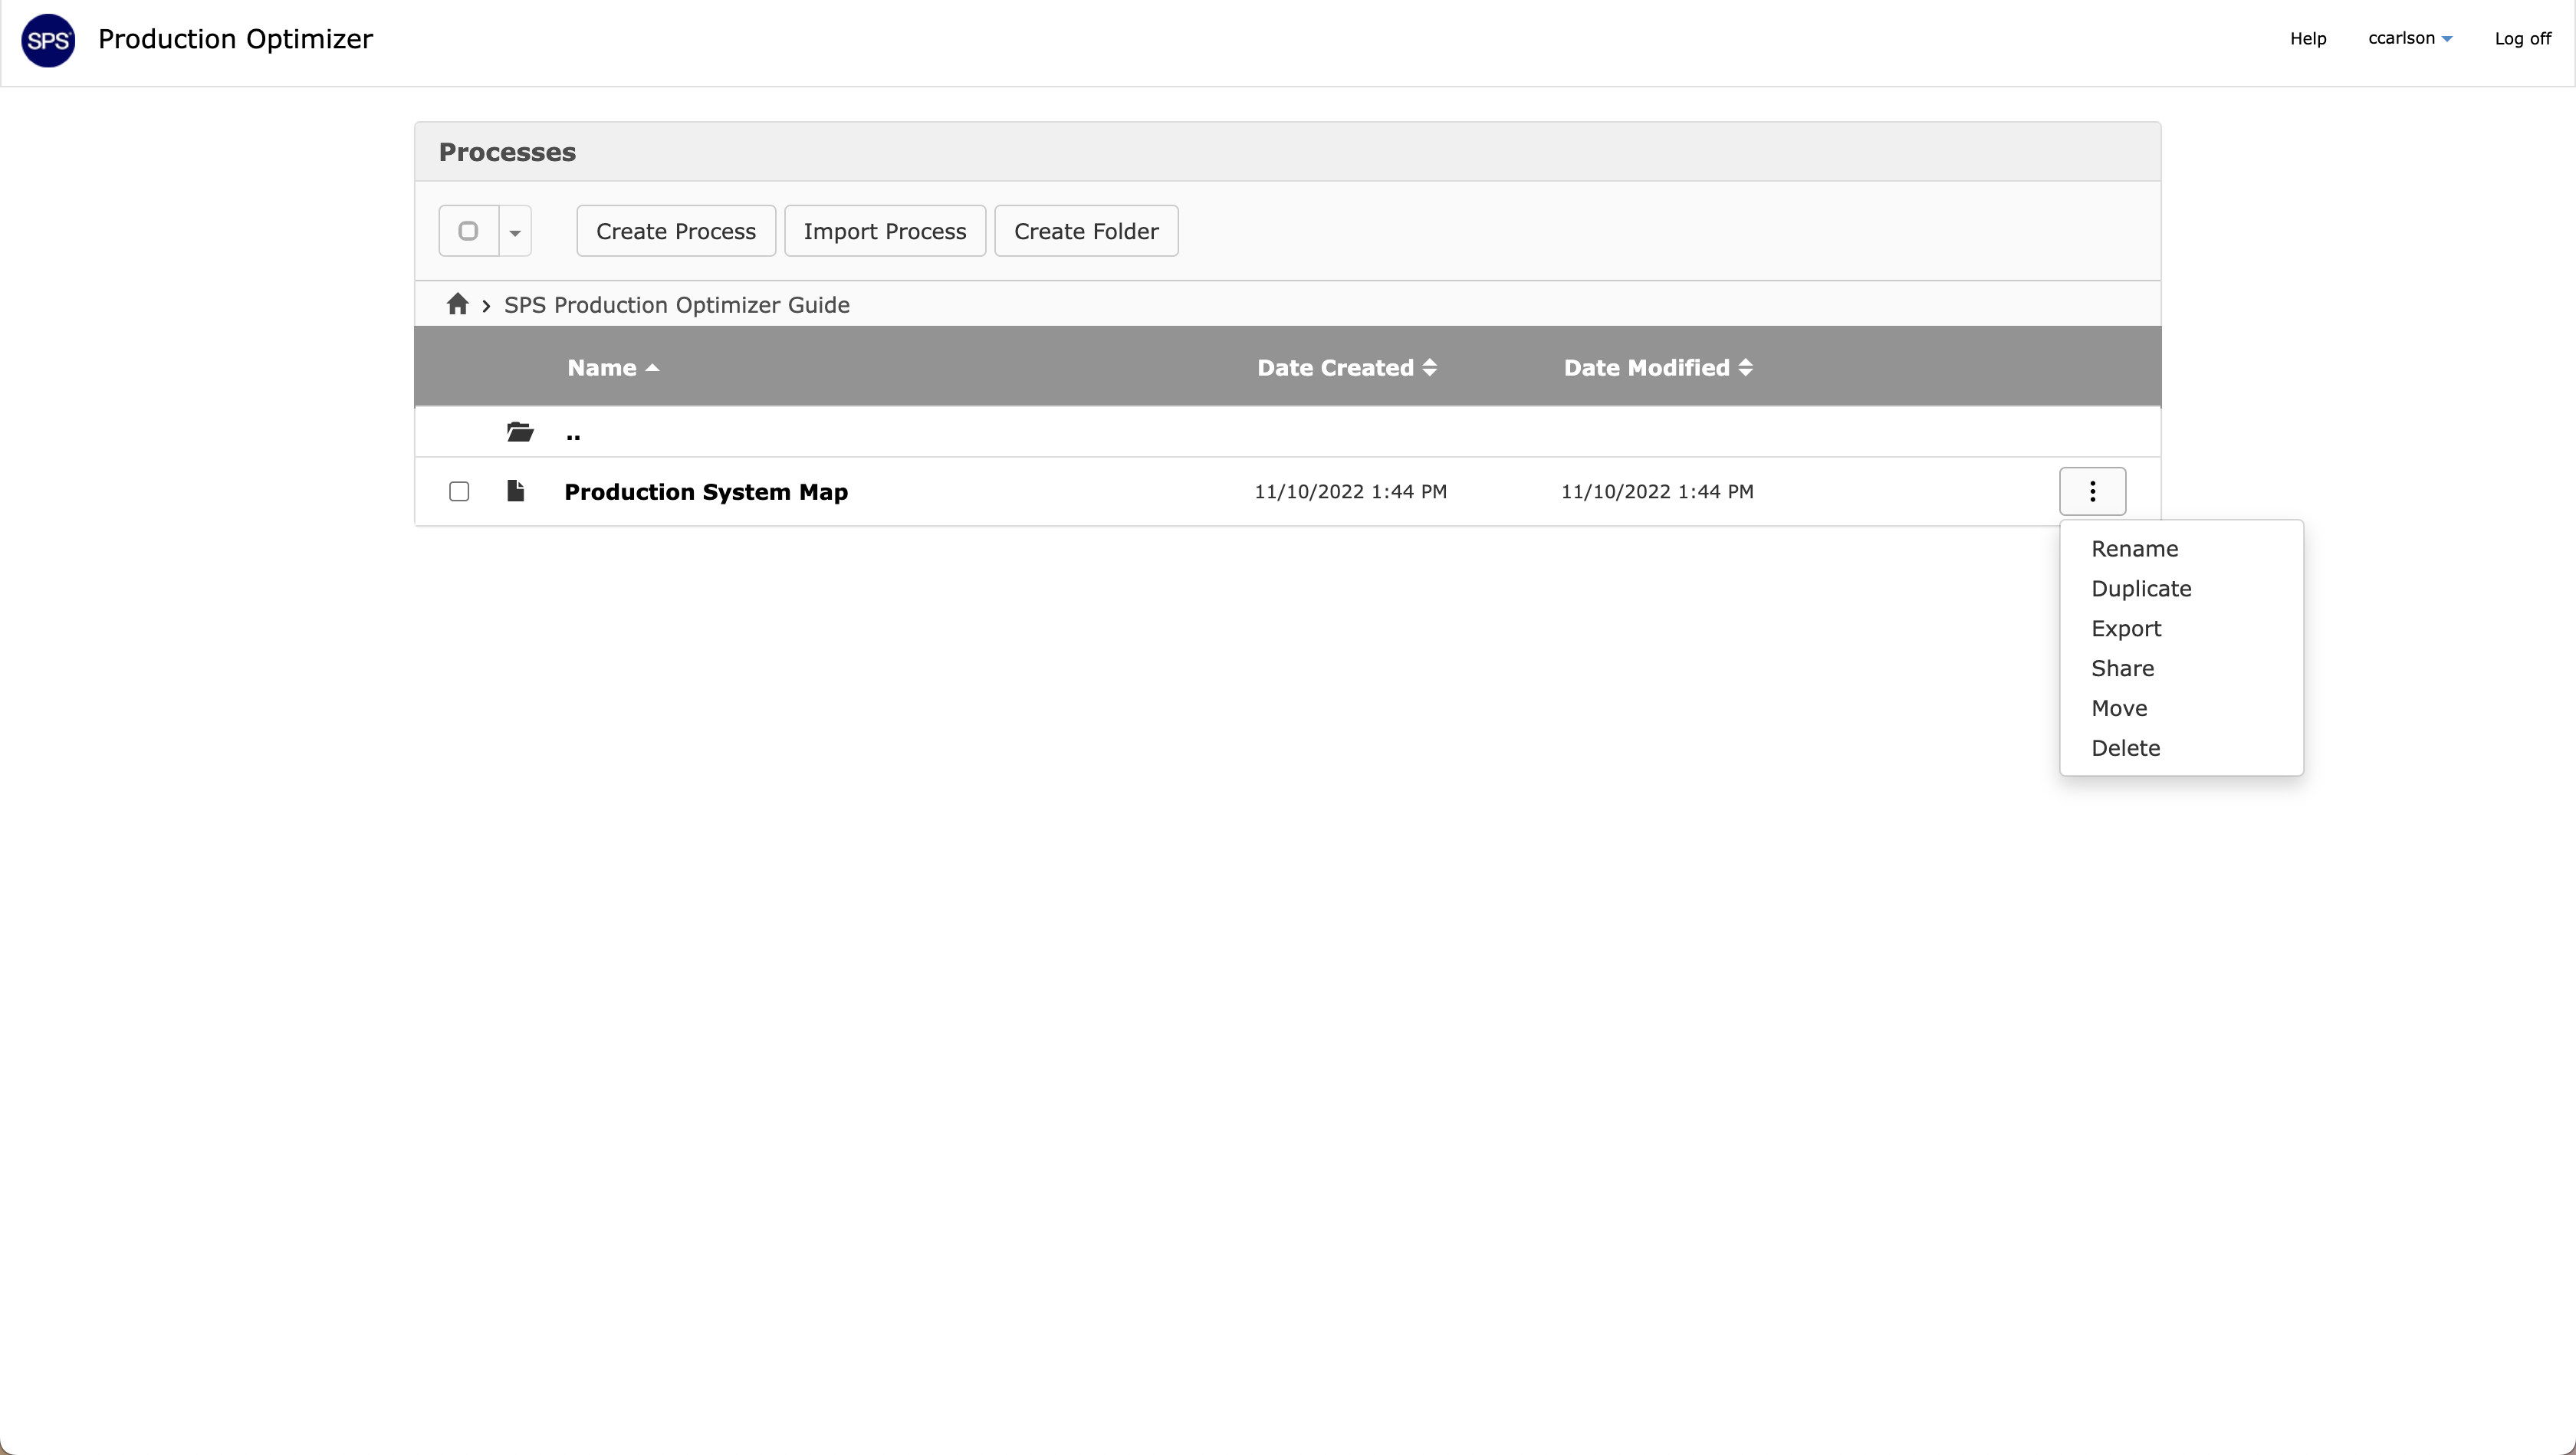
By selecting Rename, the system allows the user to change the name of the process. A dialog box will open and ask the user to revise the name of the process. Select the check mark button to the right of the process name to save the new name.
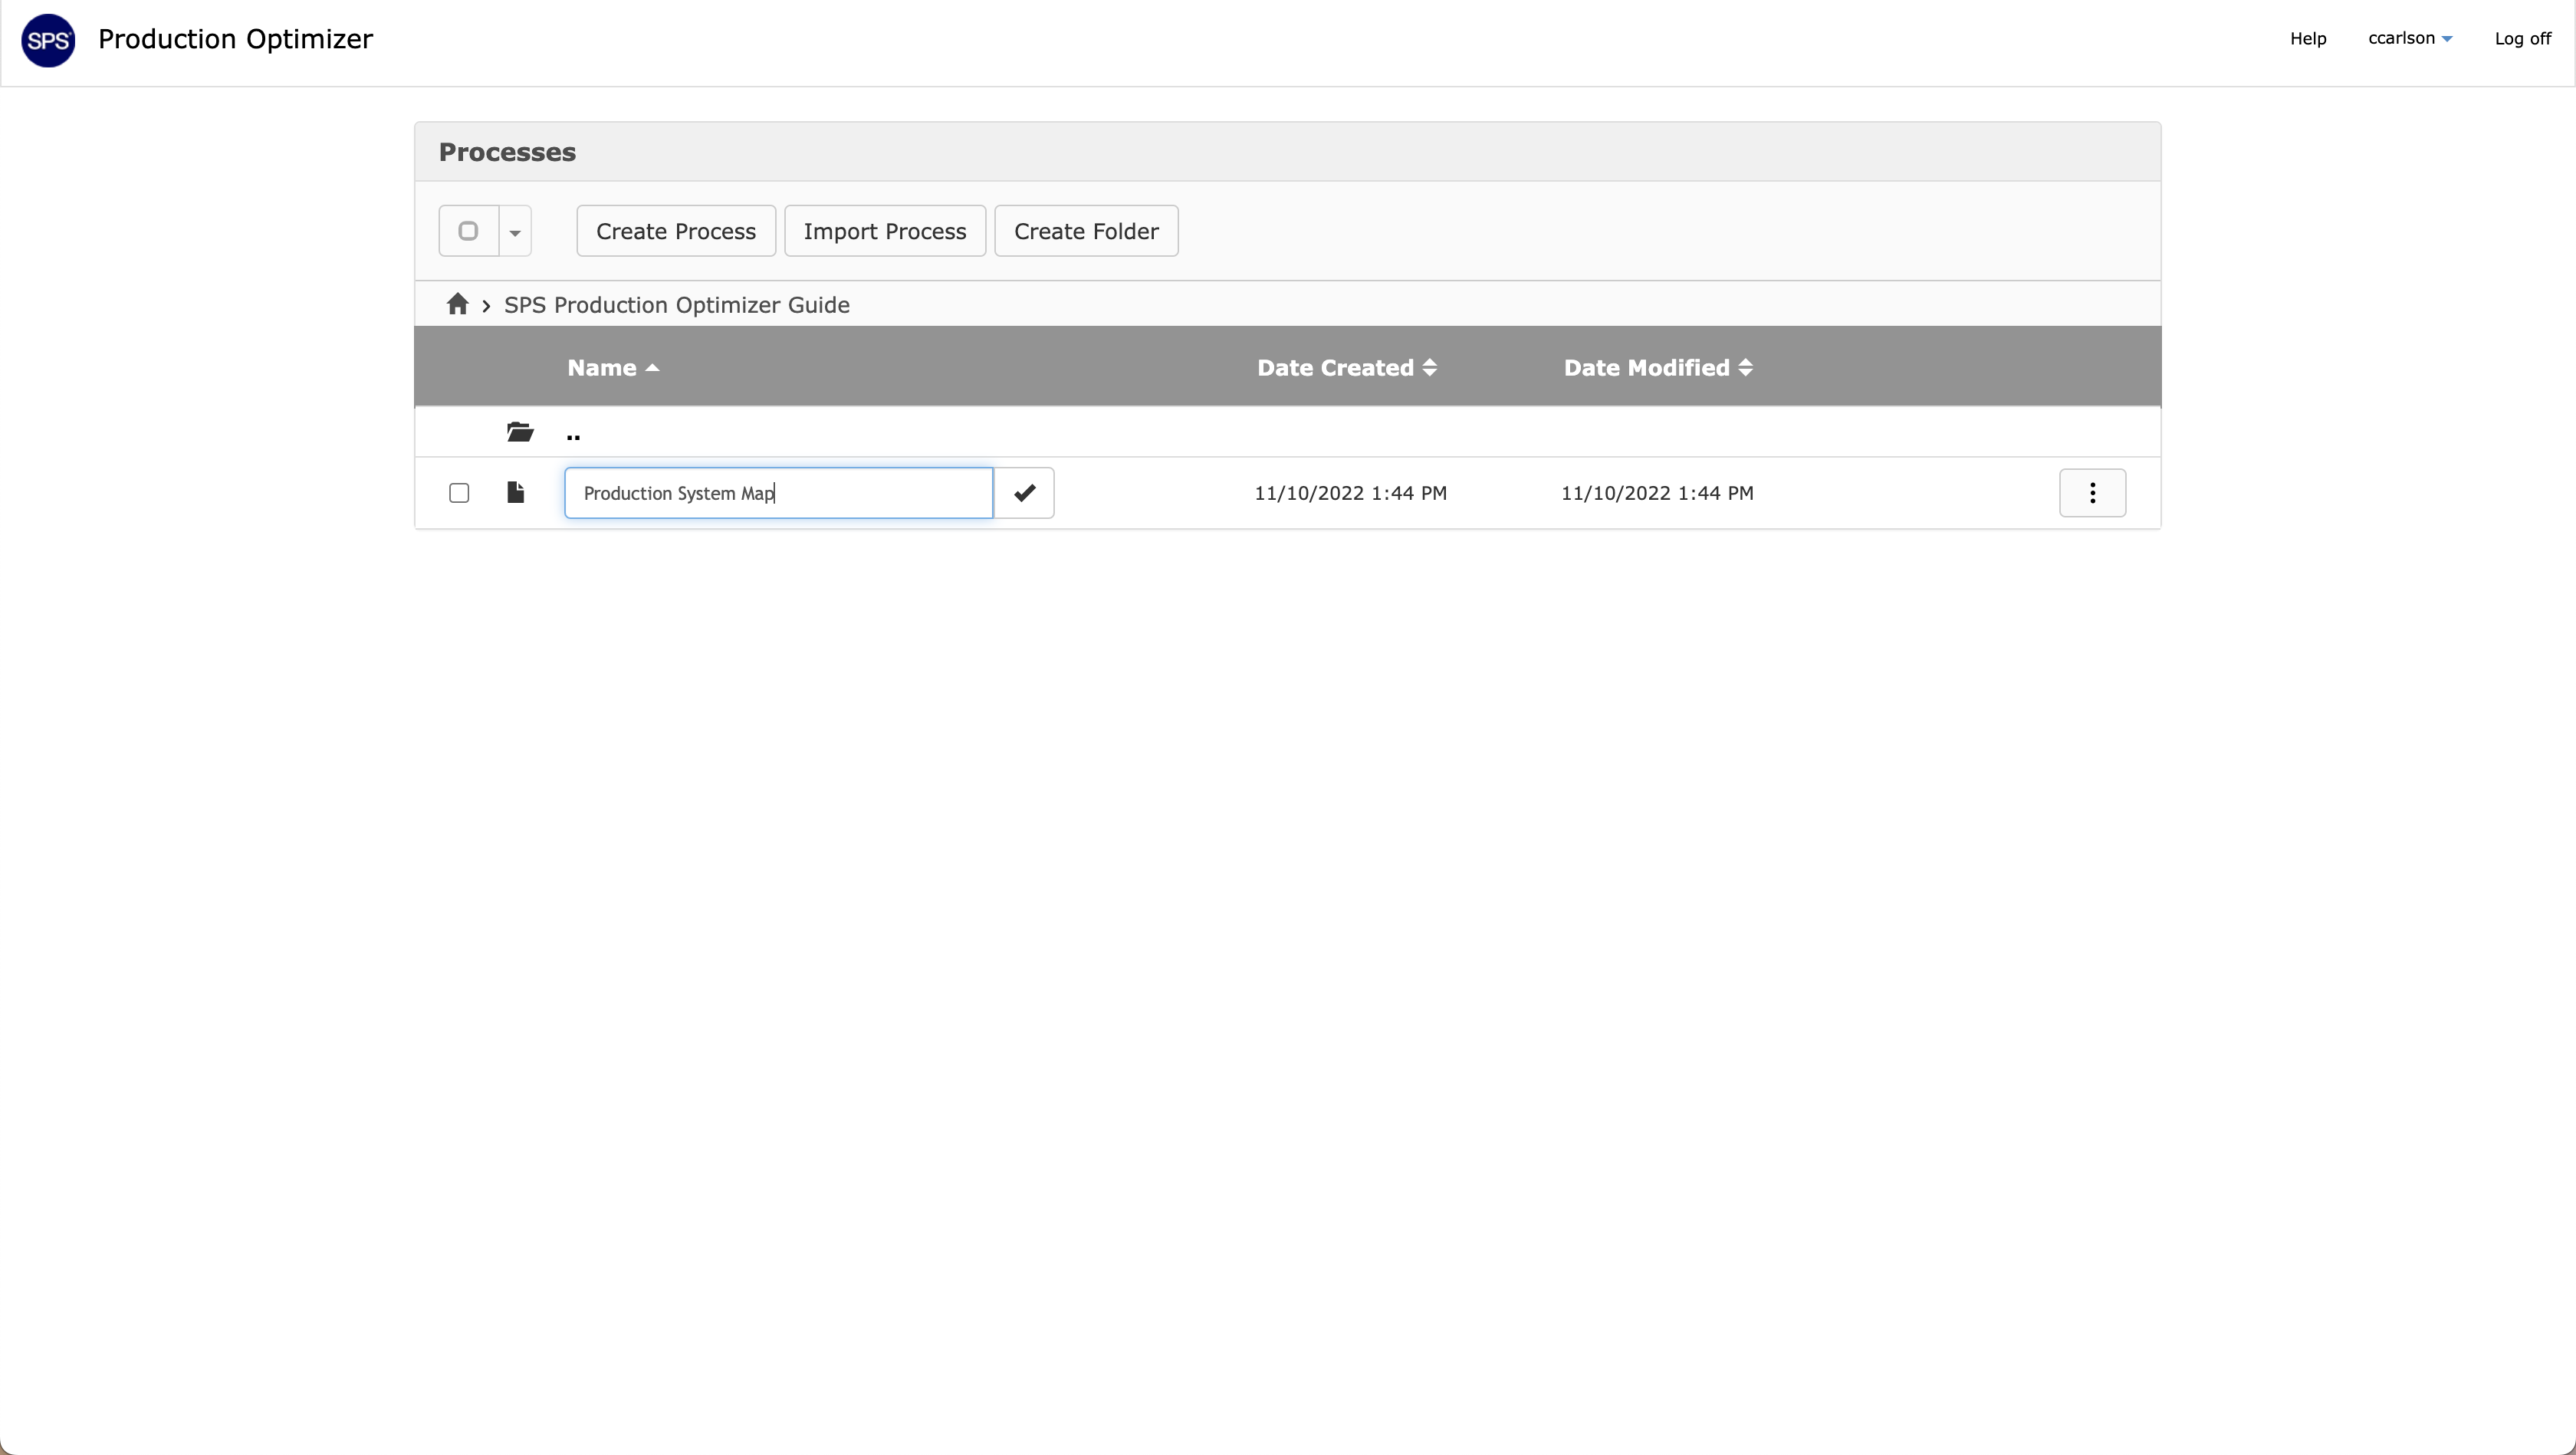
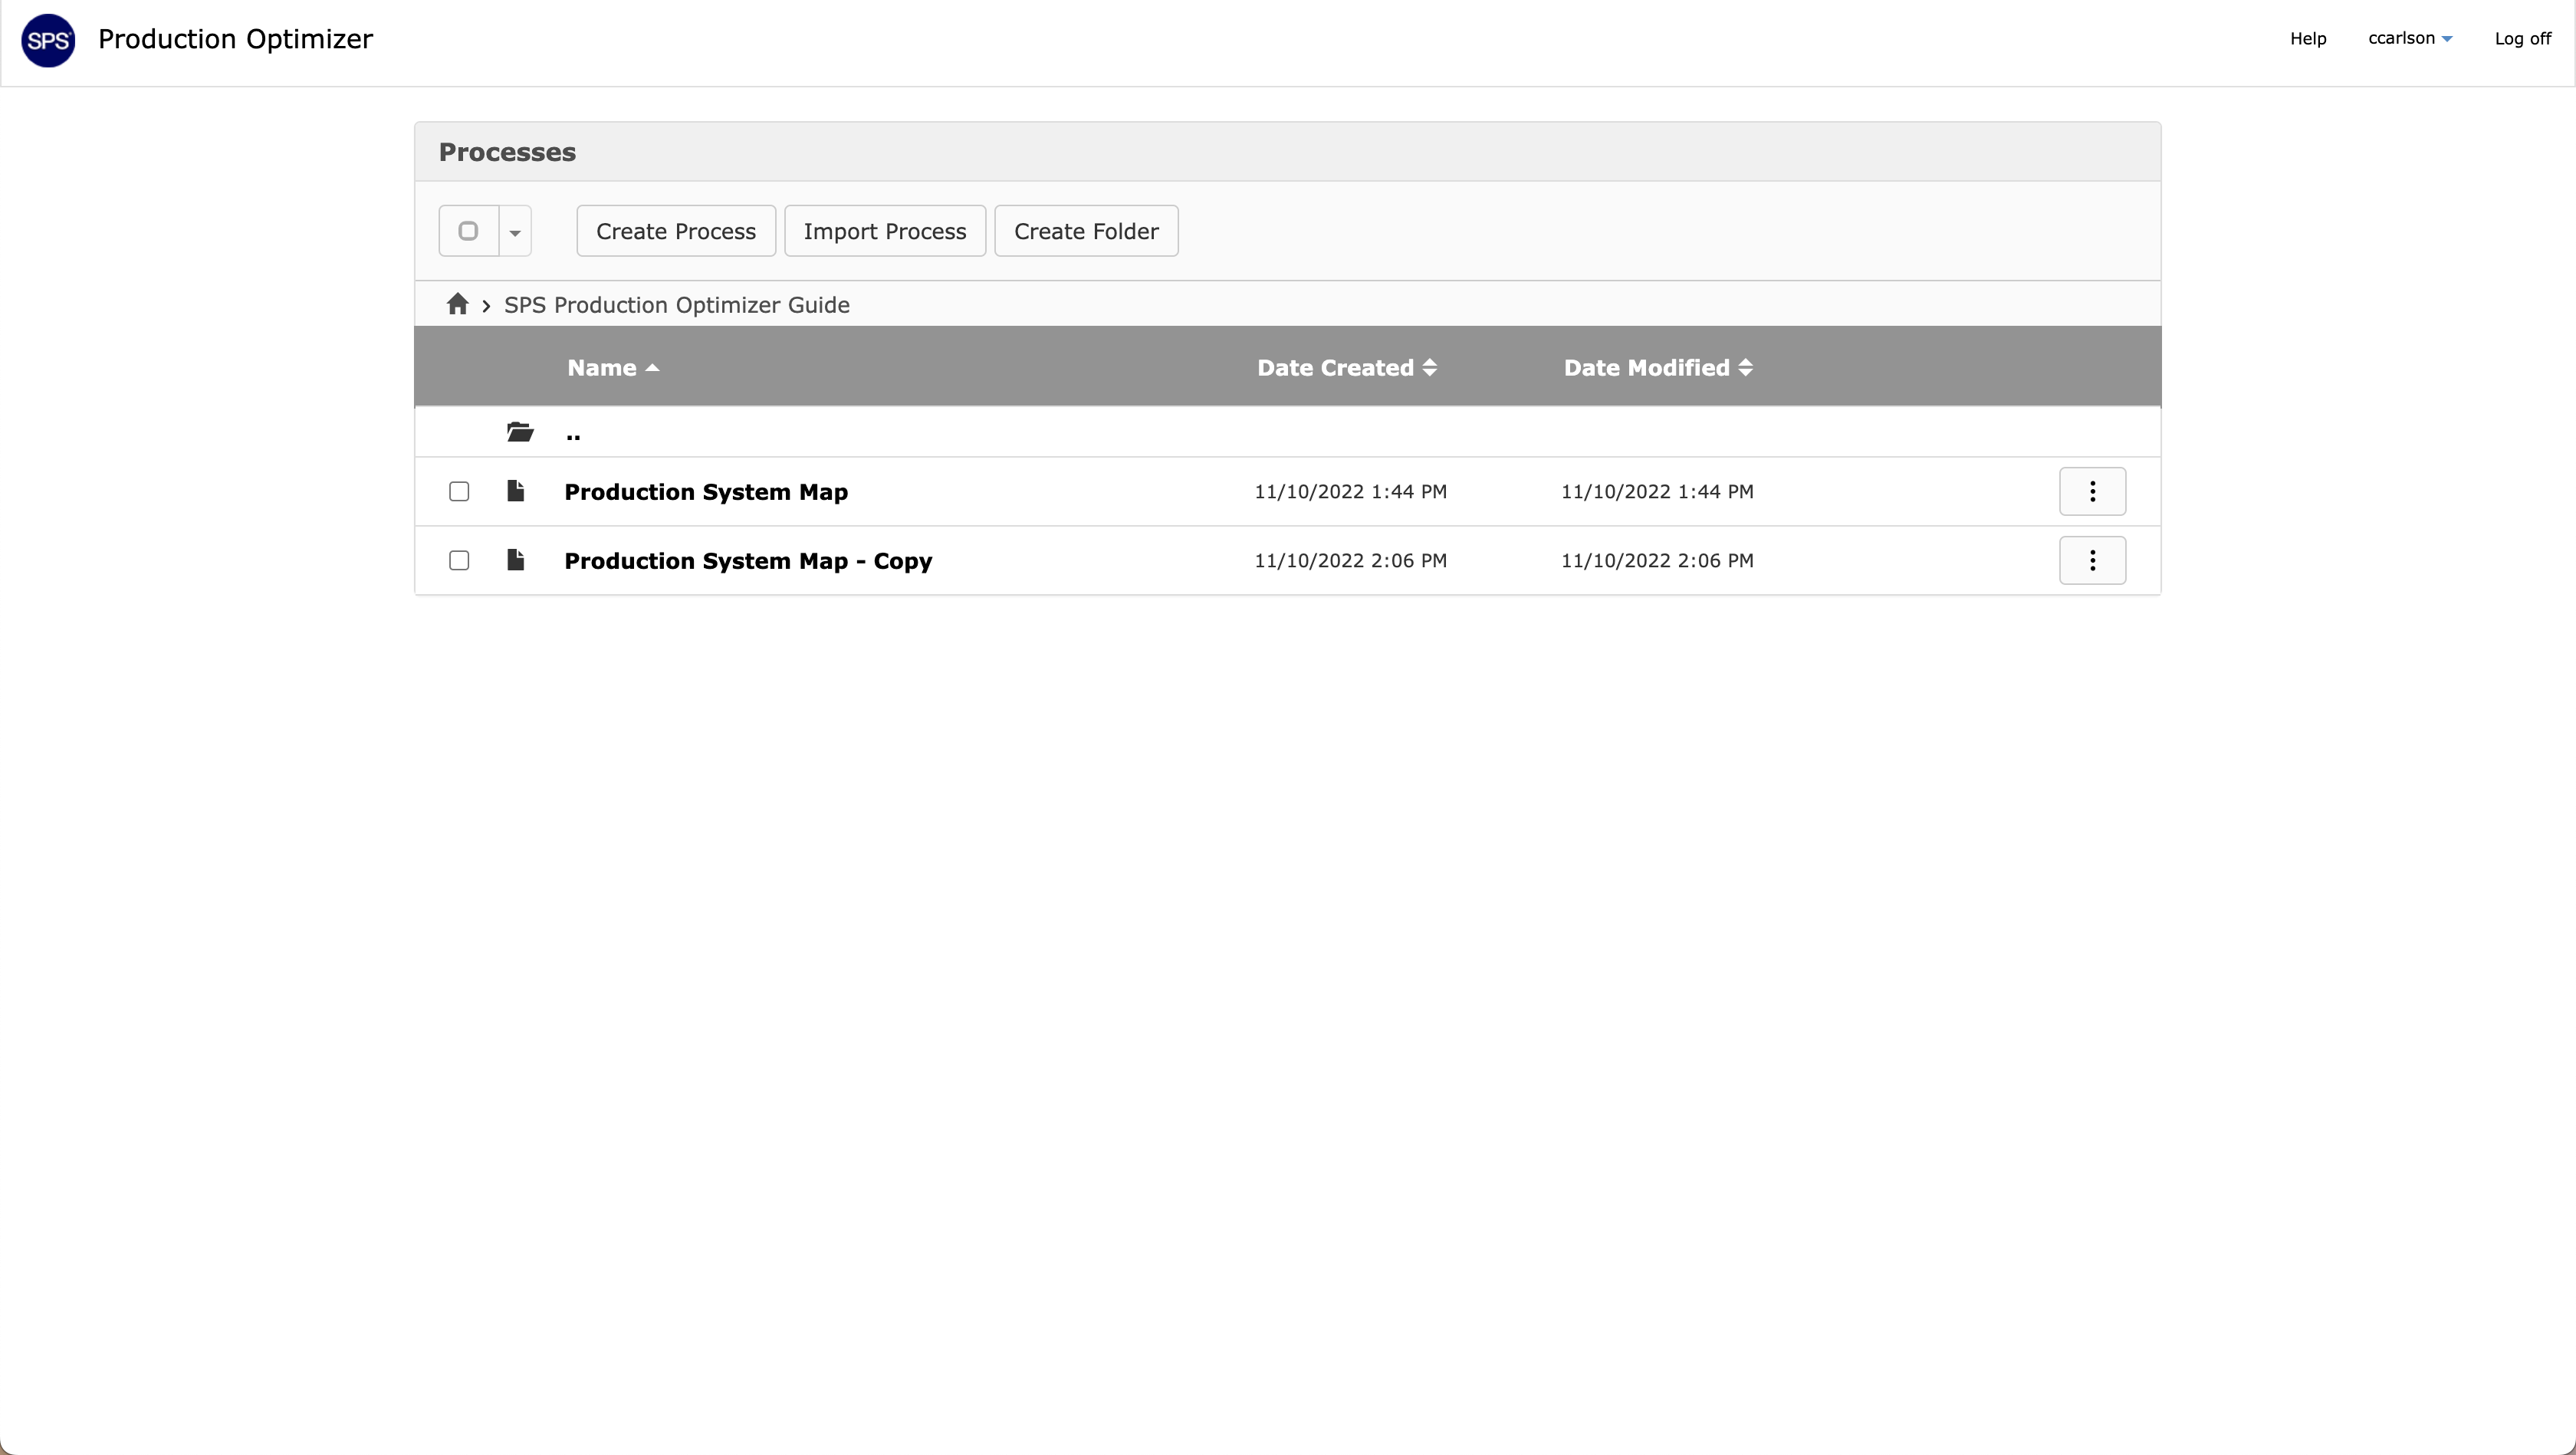
By selecting Duplicate, the system allows the user to create a copy of the process. The new process will be duplicated immediately.
By selecting Export, the system will export the process in its native file type of “.pmz”. The system will then open a menu for the user to designate where this file should be saved. Exporting to other file formats is supported within the model interface under the File drop down menu.
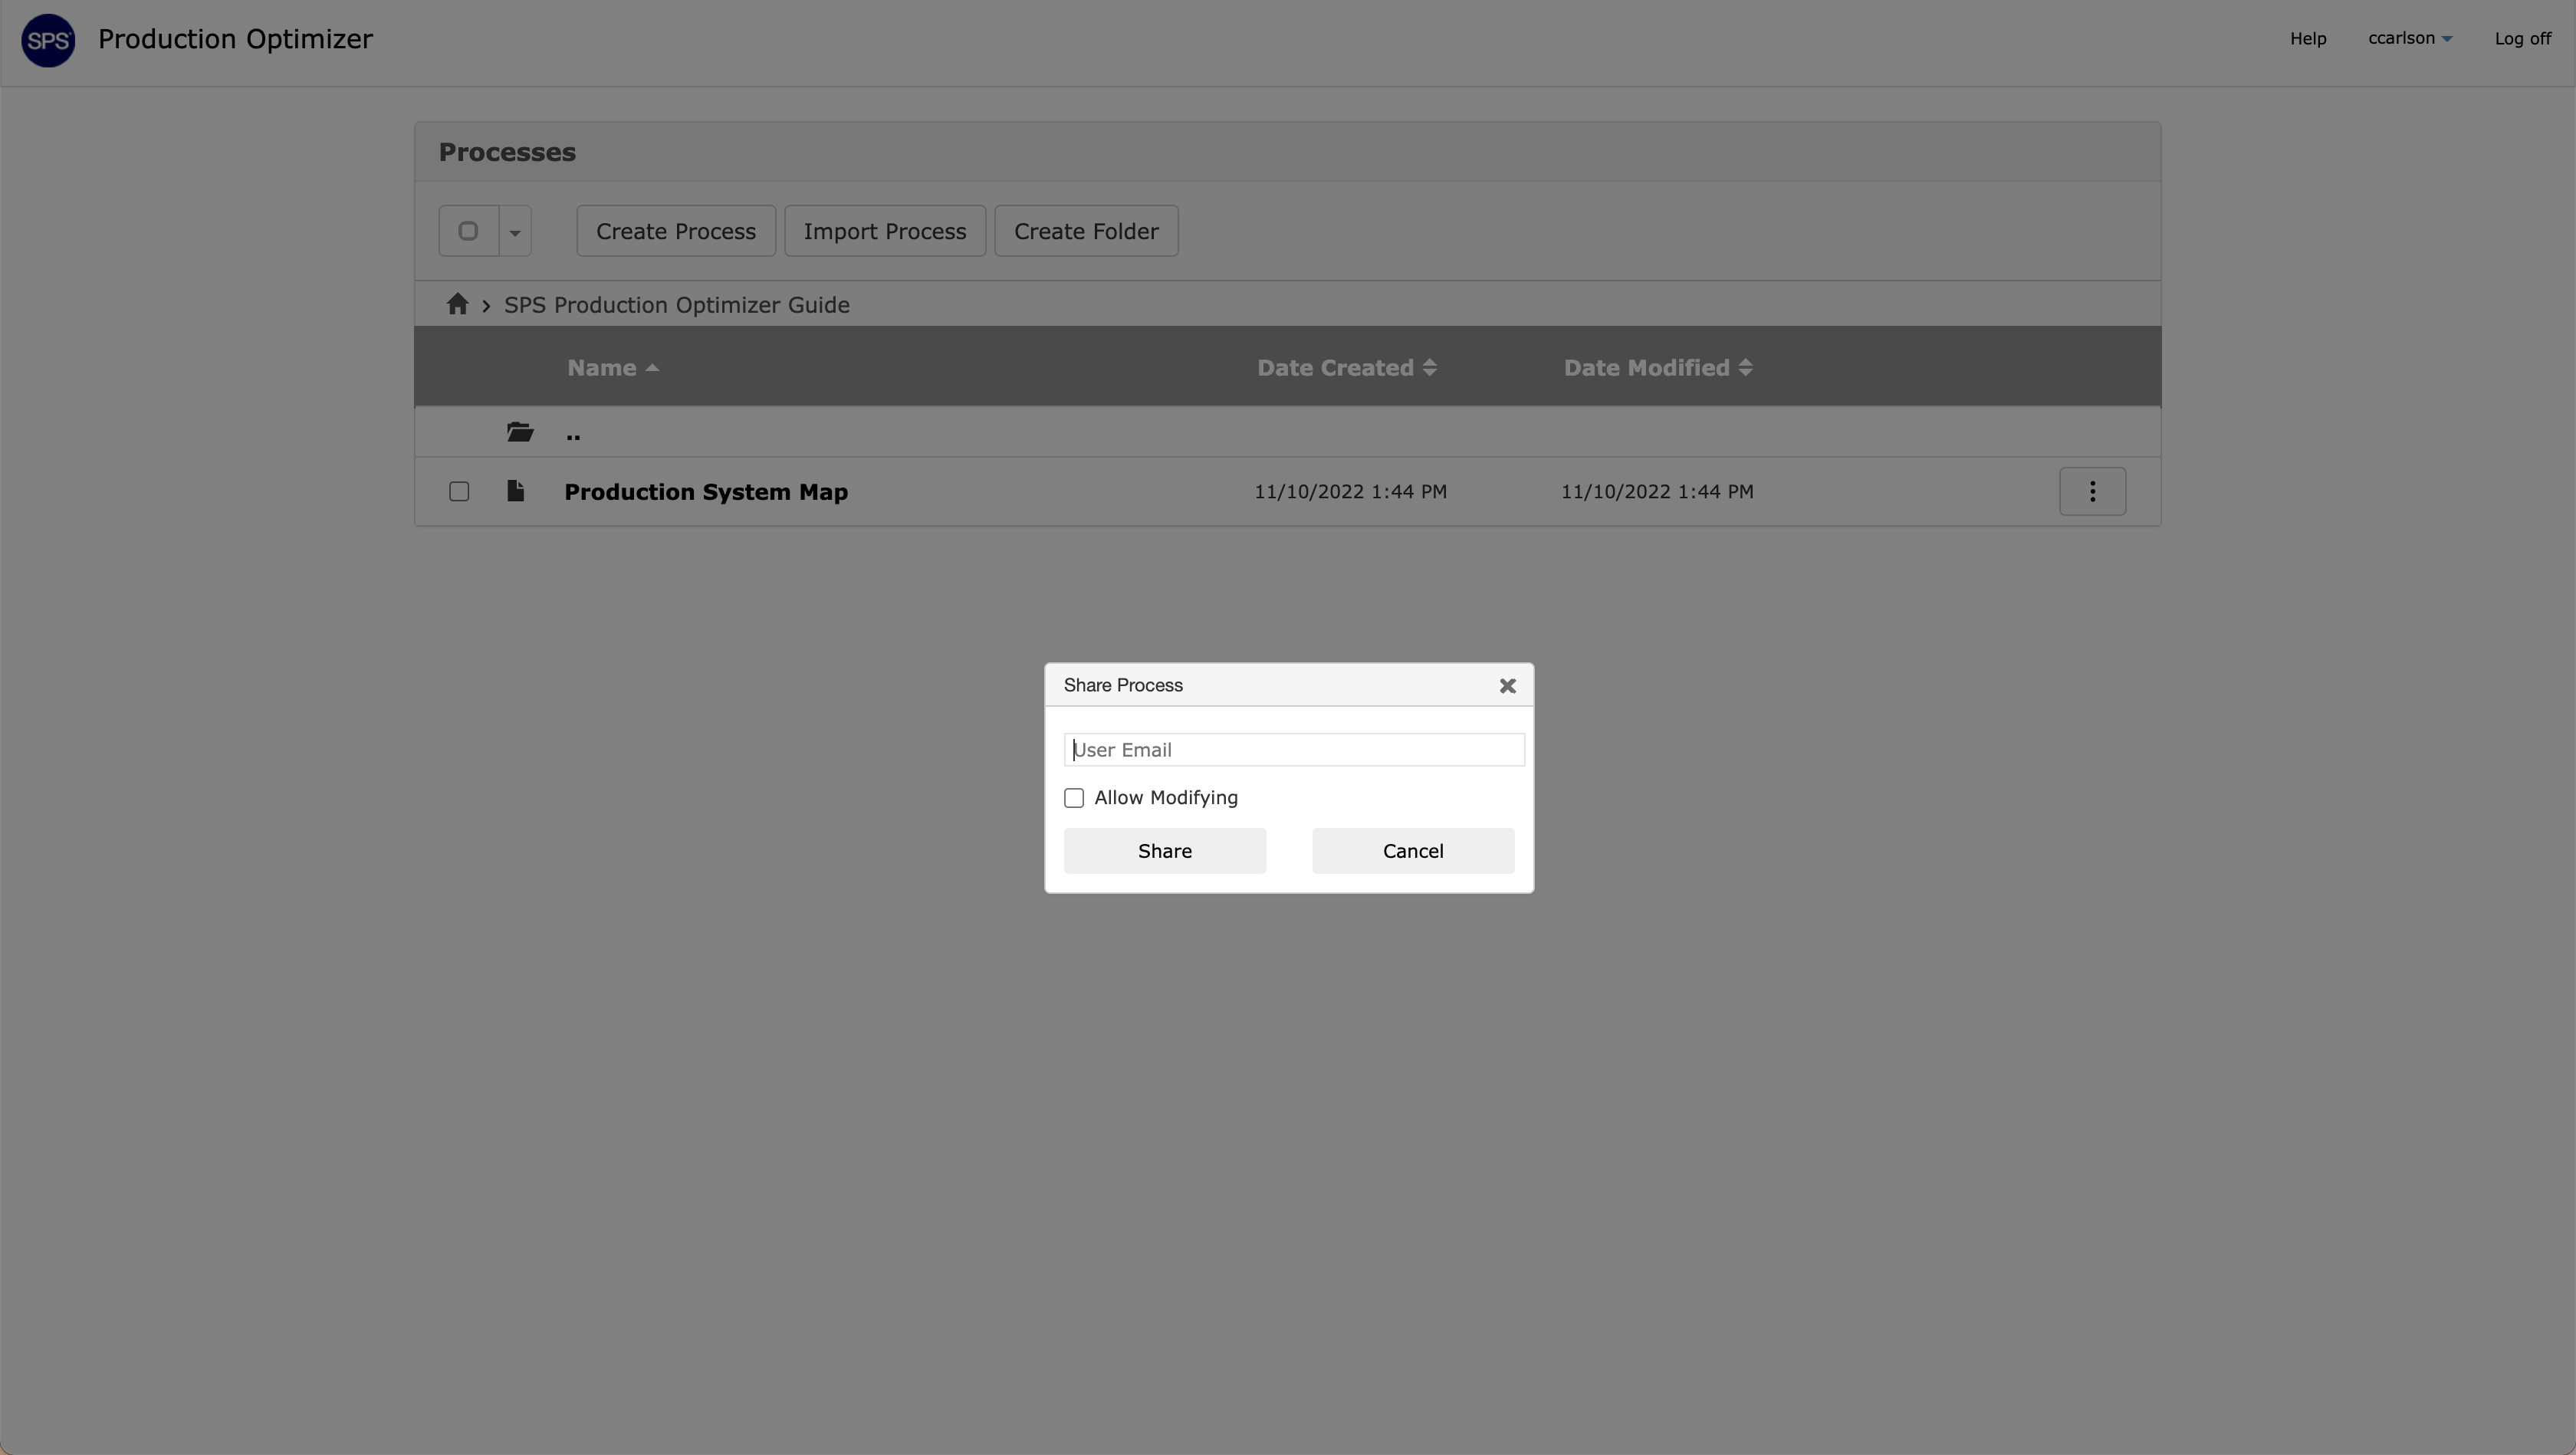
By selecting Share, the system allows the user to share the process with another user. To share with another user, enter the email address of that user in the User Email input field. Then select whether or not that user is allowed to make changes to this shared process. If selected, the user can make changes and overwrite the process as it currently is saved. If left unselected, the user will not be able to make changes to the shared process. If they do wish to make changes, that user will be required to duplicate and save a version of their own.
Once modification rights have been decided, select Share to share with the user.
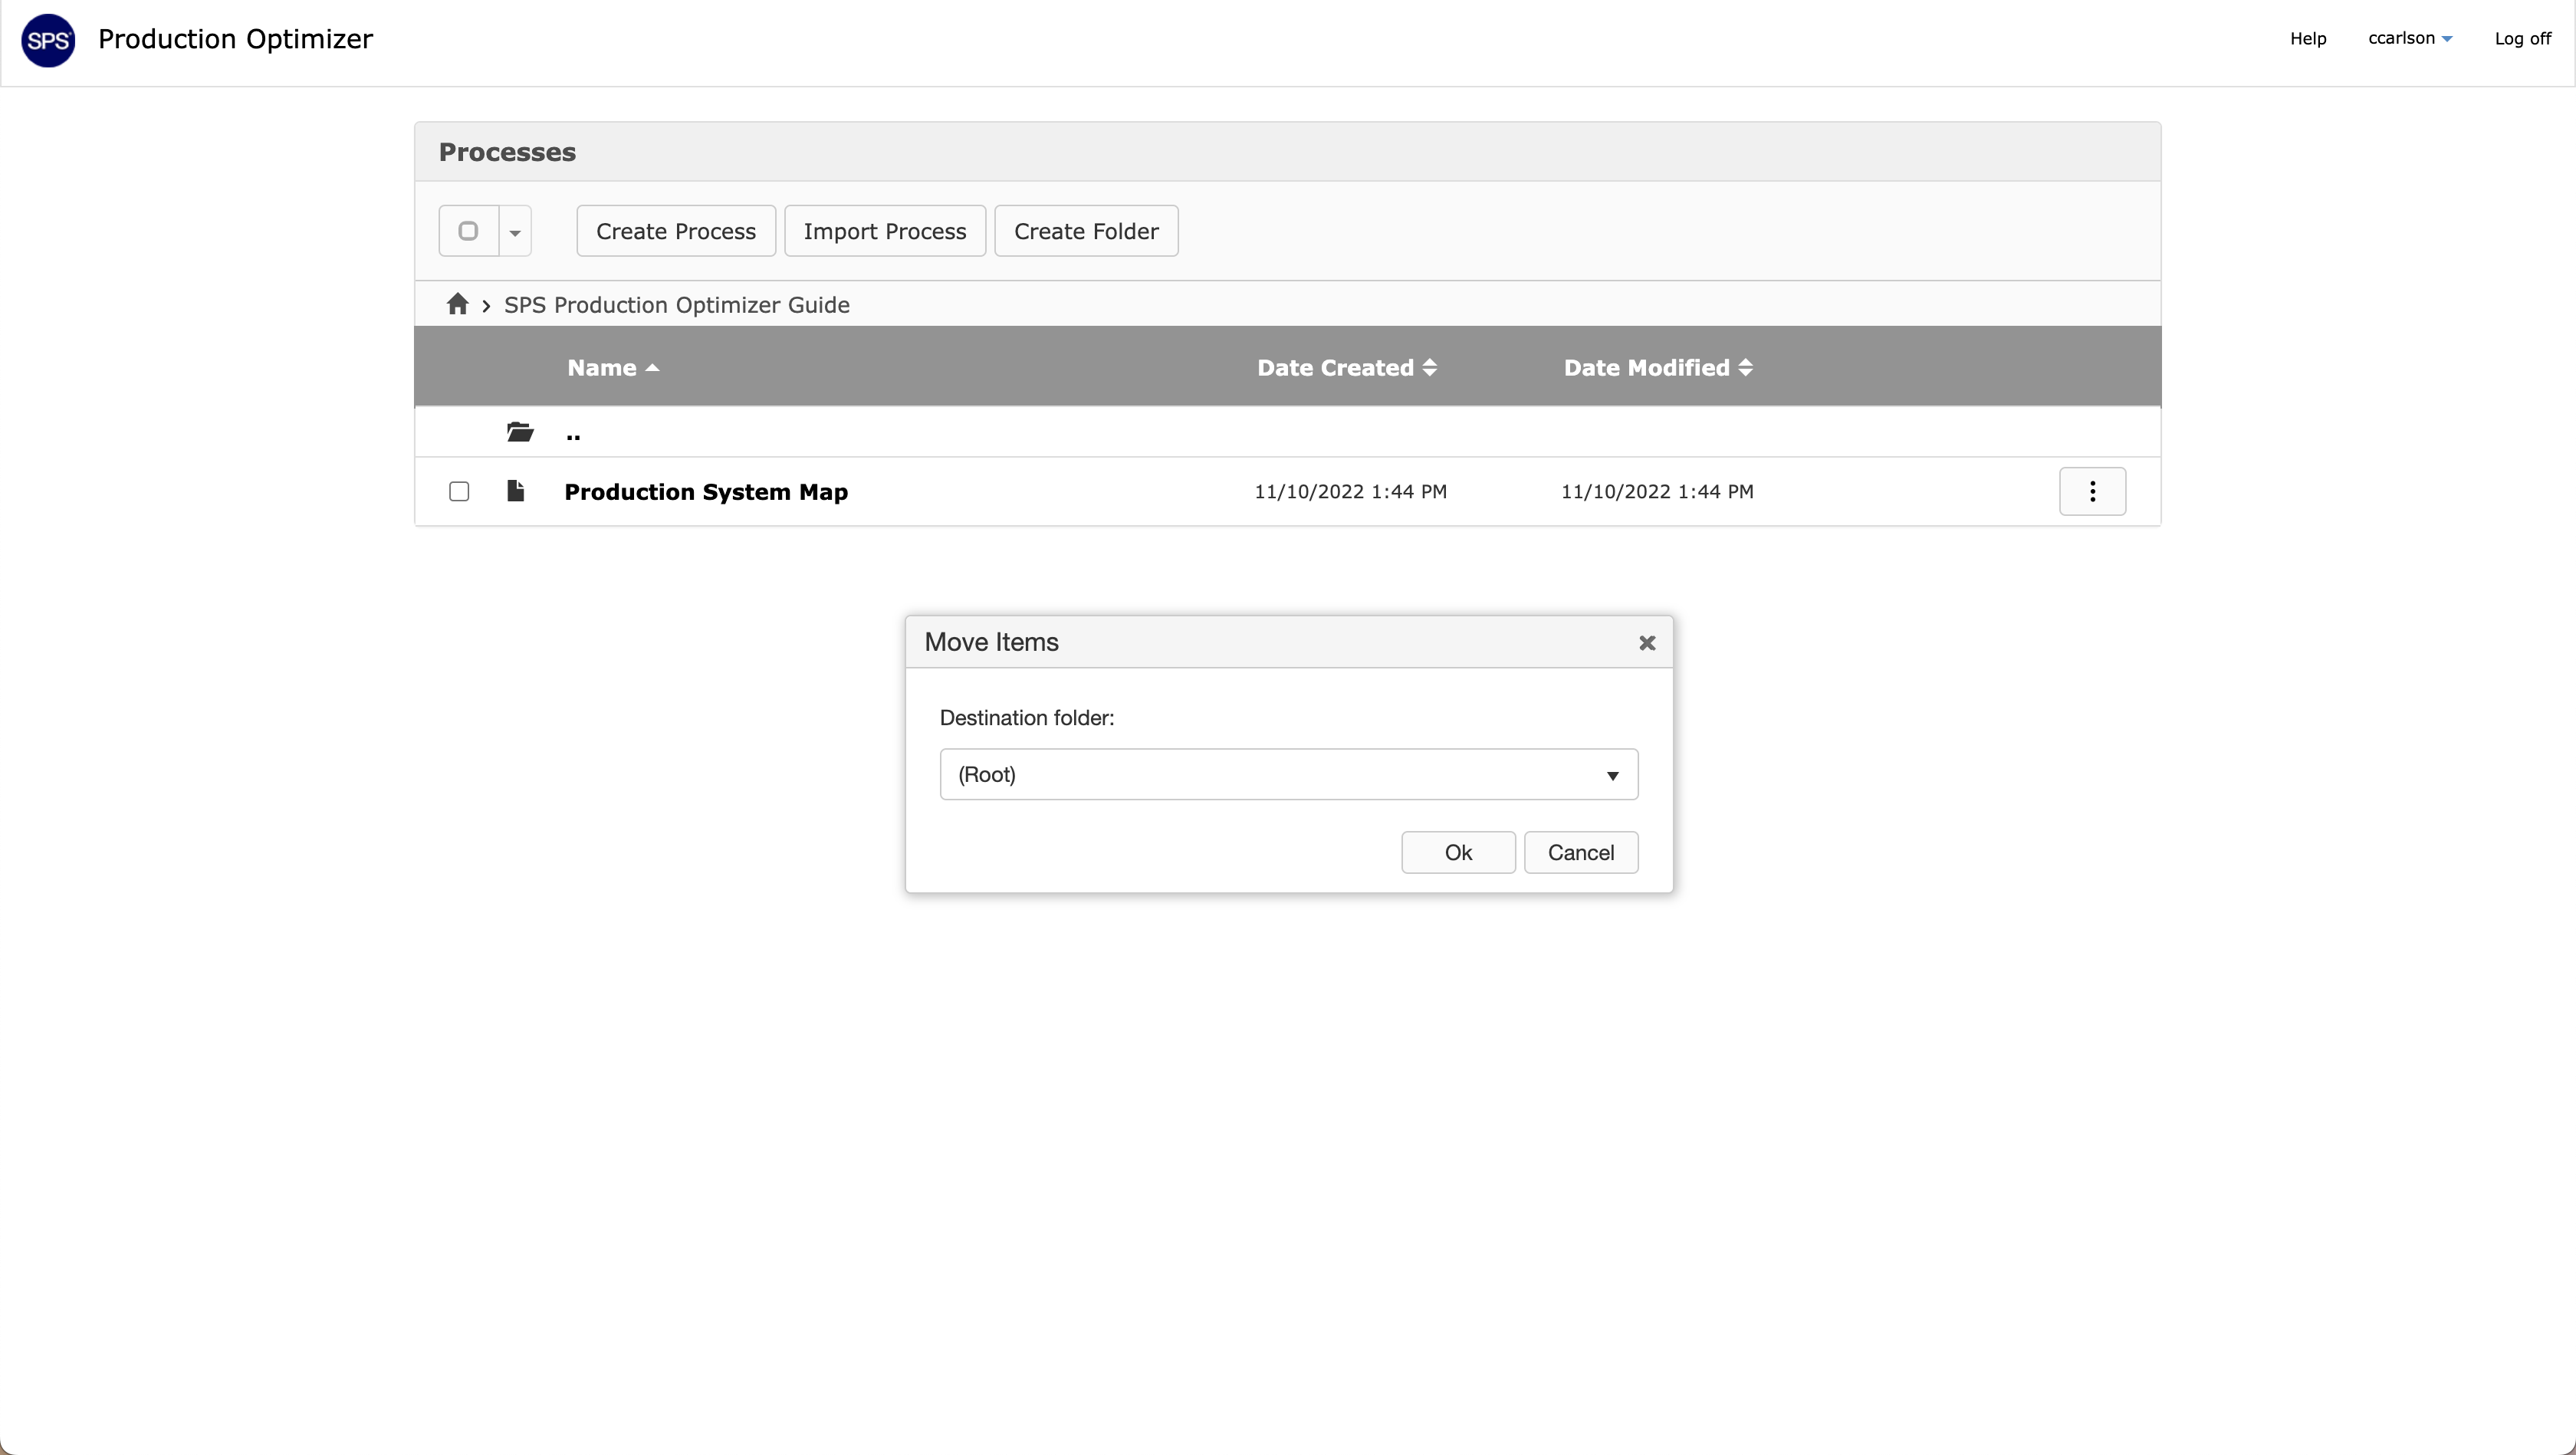
By selecting Move, the system allows the user to move the process to another folder, if one has already been created.
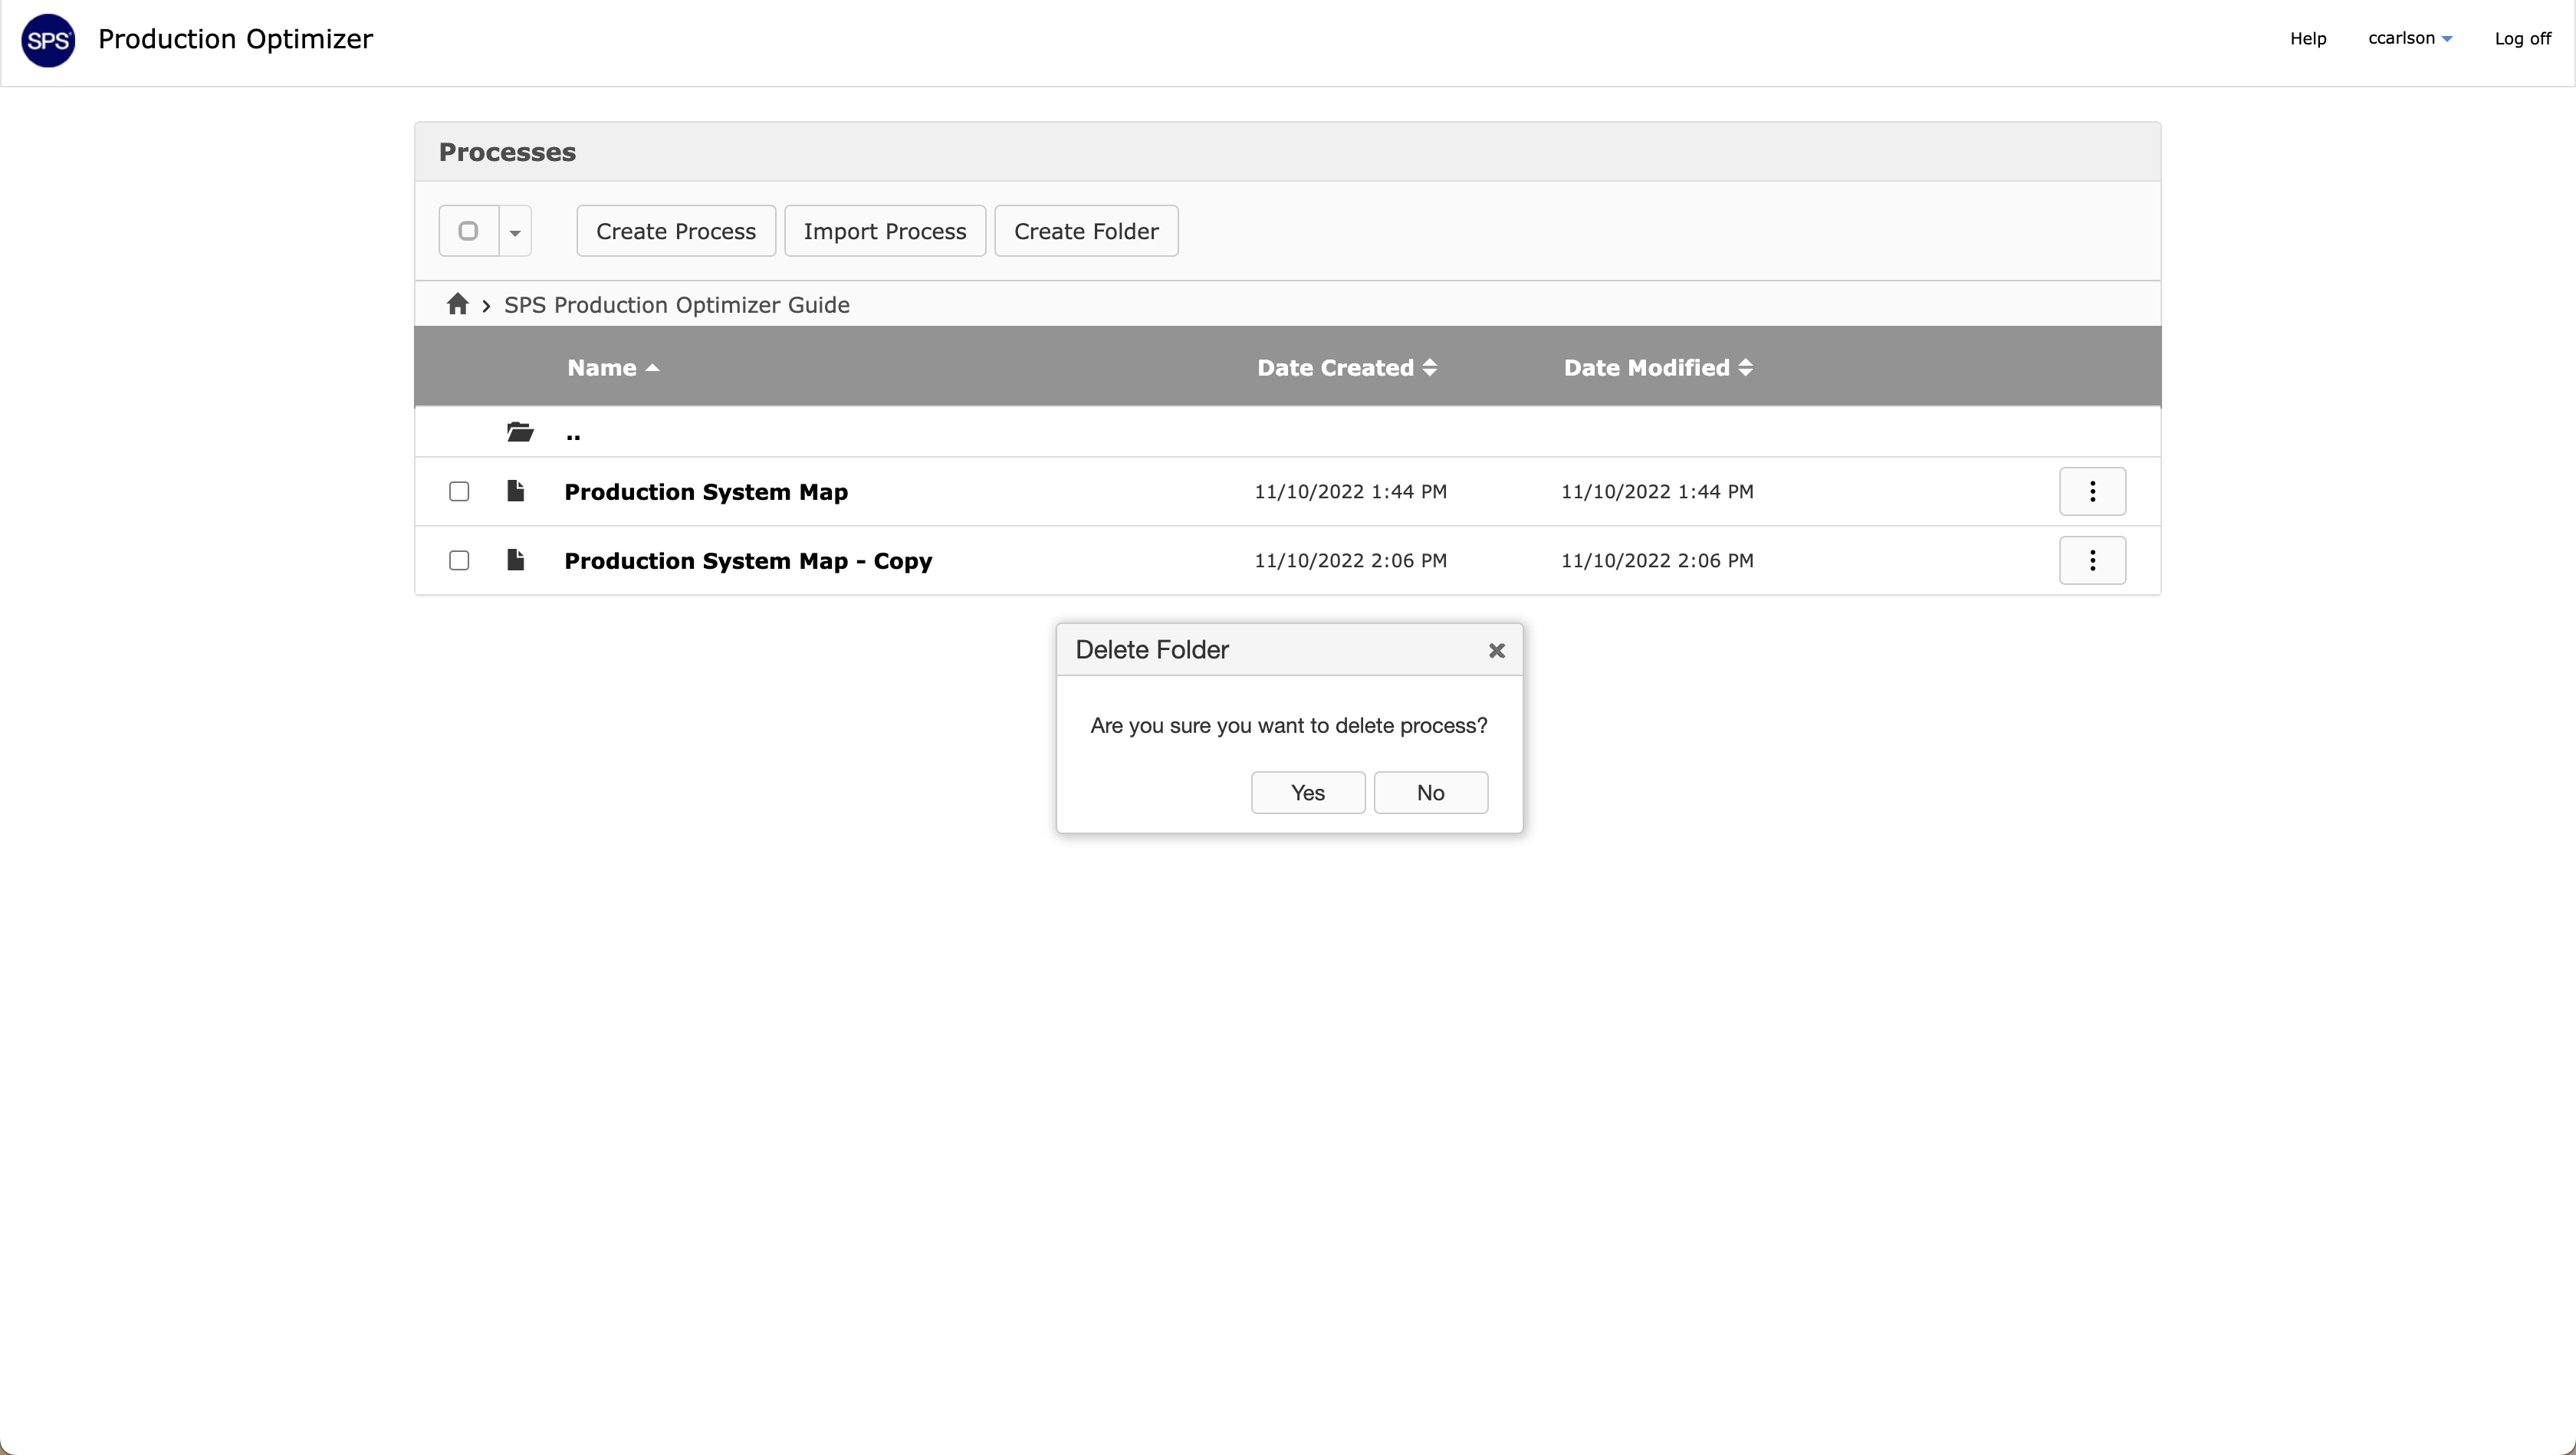
By selecting Delete, the system will erase this process permanently. The system will ask the user to confirm the deletion of this process. Selecting Yes erases the process permanently. Selecting No cancels the deletion of this process.
Batch Edit Multiple Production Processes
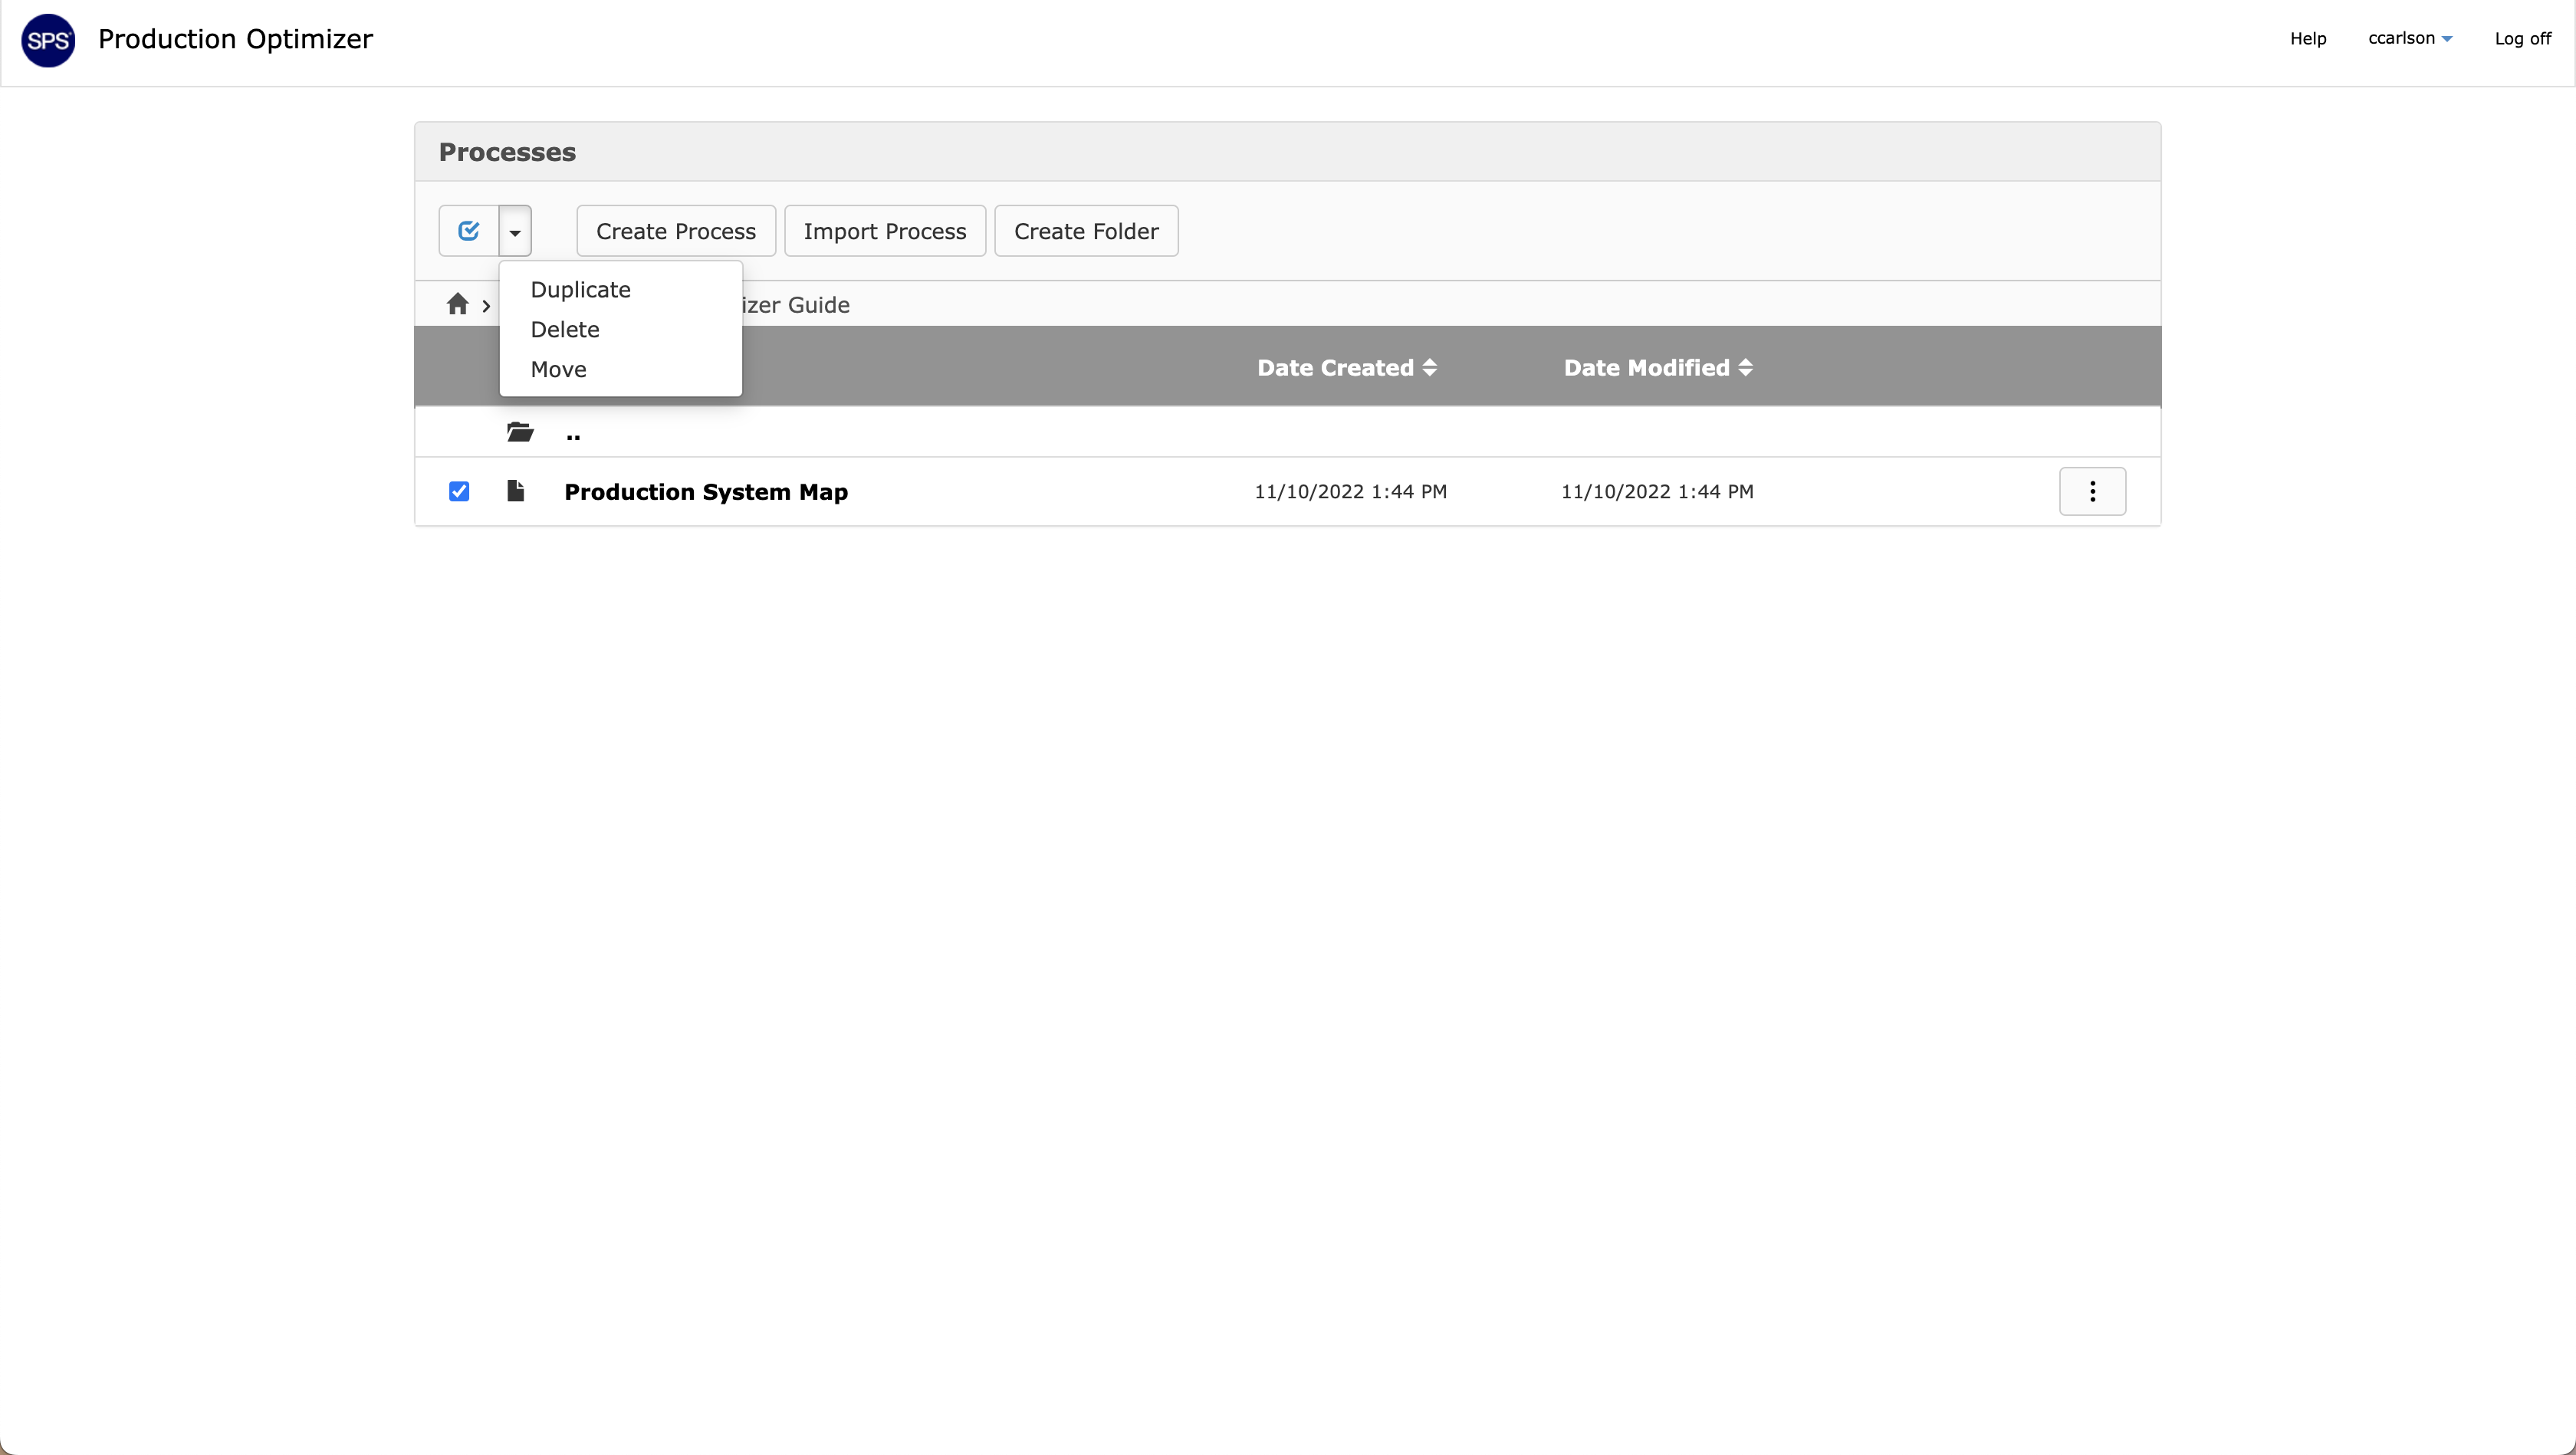
The system allows a user to Duplicate, Delete, and Move multiple processes at once. To do so, begin by selecting the check boxes to the left of the process names that require duplication, deletion, or movement. Then select the drop down arrow next to the Create Process button. This will open a menu for the user to select one of the three options. Changes for Duplicate are immediate. Changes for Delete and Move will open a dialog box identical to the appropriate actions shown above.
